Using Metamask
If you have used Metamask for any sort of development work on the EVM, then setting up Findora for use is as simple as can be. Simply take the network details as shown here and make use of them as Metamask requires. Let's jump right in!
The first step is to install Metamask from metamask.io.
Next up, click on the bar that would typically show your last connected network.
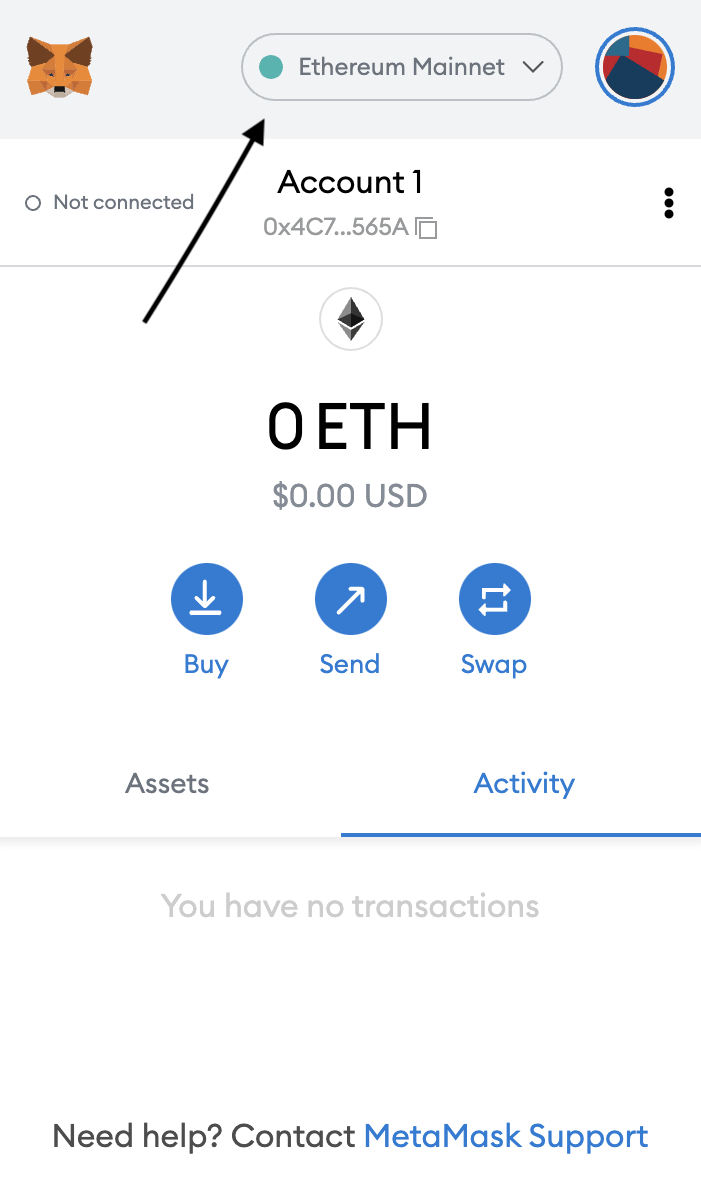
You should get a drop-down and a button that shows "Add Network". Click on that and a new tab will open where you can place Findora's network configurations.

Next, configure Metamask to connect to Findora’s EVM network (aka Smart Chain).
For example, if you would like to connect to the Anvil testnet, in the Network Name input field, copy and place this
AnvilIn the New RPC URL input field, copy and place this in
https://prod-testnet.prod.findora.org:8545Just below in the Chain ID input field, copy and place this
2153Beside the Chain ID, Currency Symbol is
FRAAnd at the end is the Block Explorer URL. Please place this in
https://testnet-anvil.evm.findorascan.ioAfter everything, you should see this screen
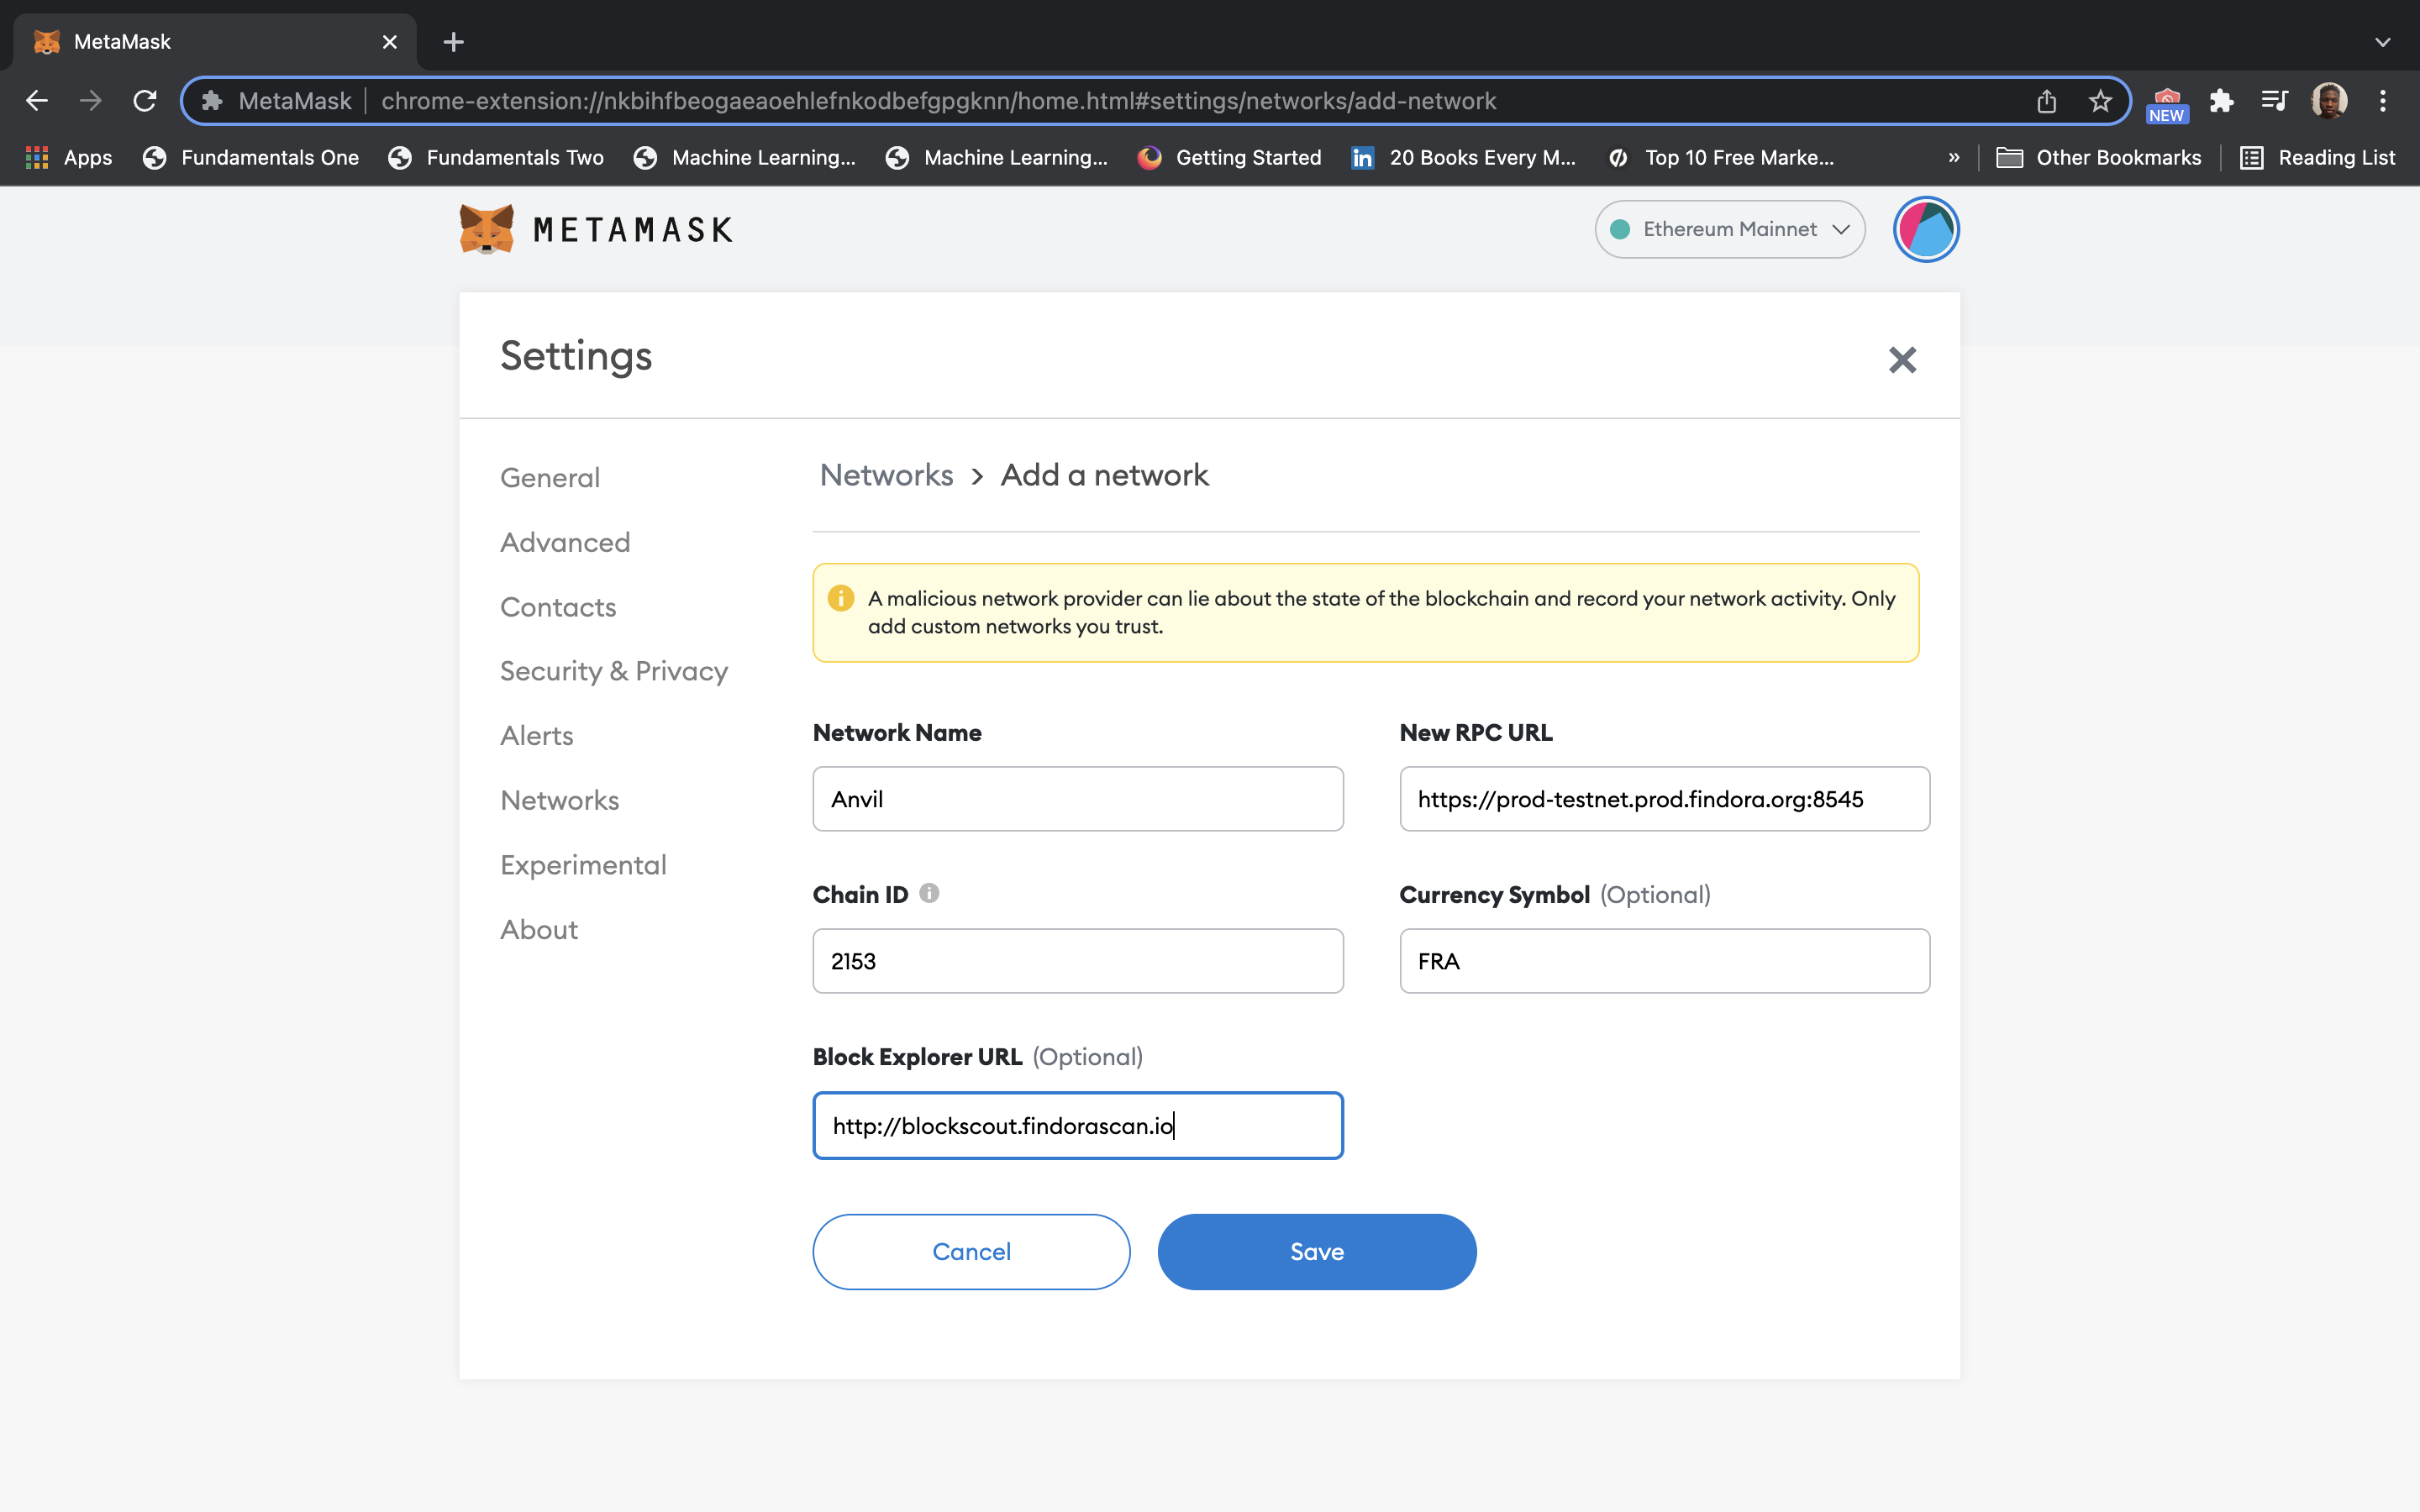
Click on the 'Save' button and you should have a screen like this and be ready to go!
