Findora Wallet Guide
Installing the Mac/Windows Wallet
The Findora wallet enables you to send and receive FRA tokens and even create your own custom assets. Findora provides wallet application for most of the popular operating systems across desktop and mobile. Currently, you can download and install Findora wallet on Mac, Windows, iOS and Android.
Download the latest version of Findora Wallet
Download Wallet v0.3.2 for Mac
Download Wallet v0.3.2 for Windows
Wallet Basics
Create Wallet

Click the Create Wallet button and the app will display mnemonic "seed words" for you to write down and save for your own safe keeping — offline ideally.
These mnemonic seed words are linked to a unique private key and wallet that the app will create and store for you inside the app.
Note: Store these "seed words" securely as they will never be shown again and there is no way to recover them.
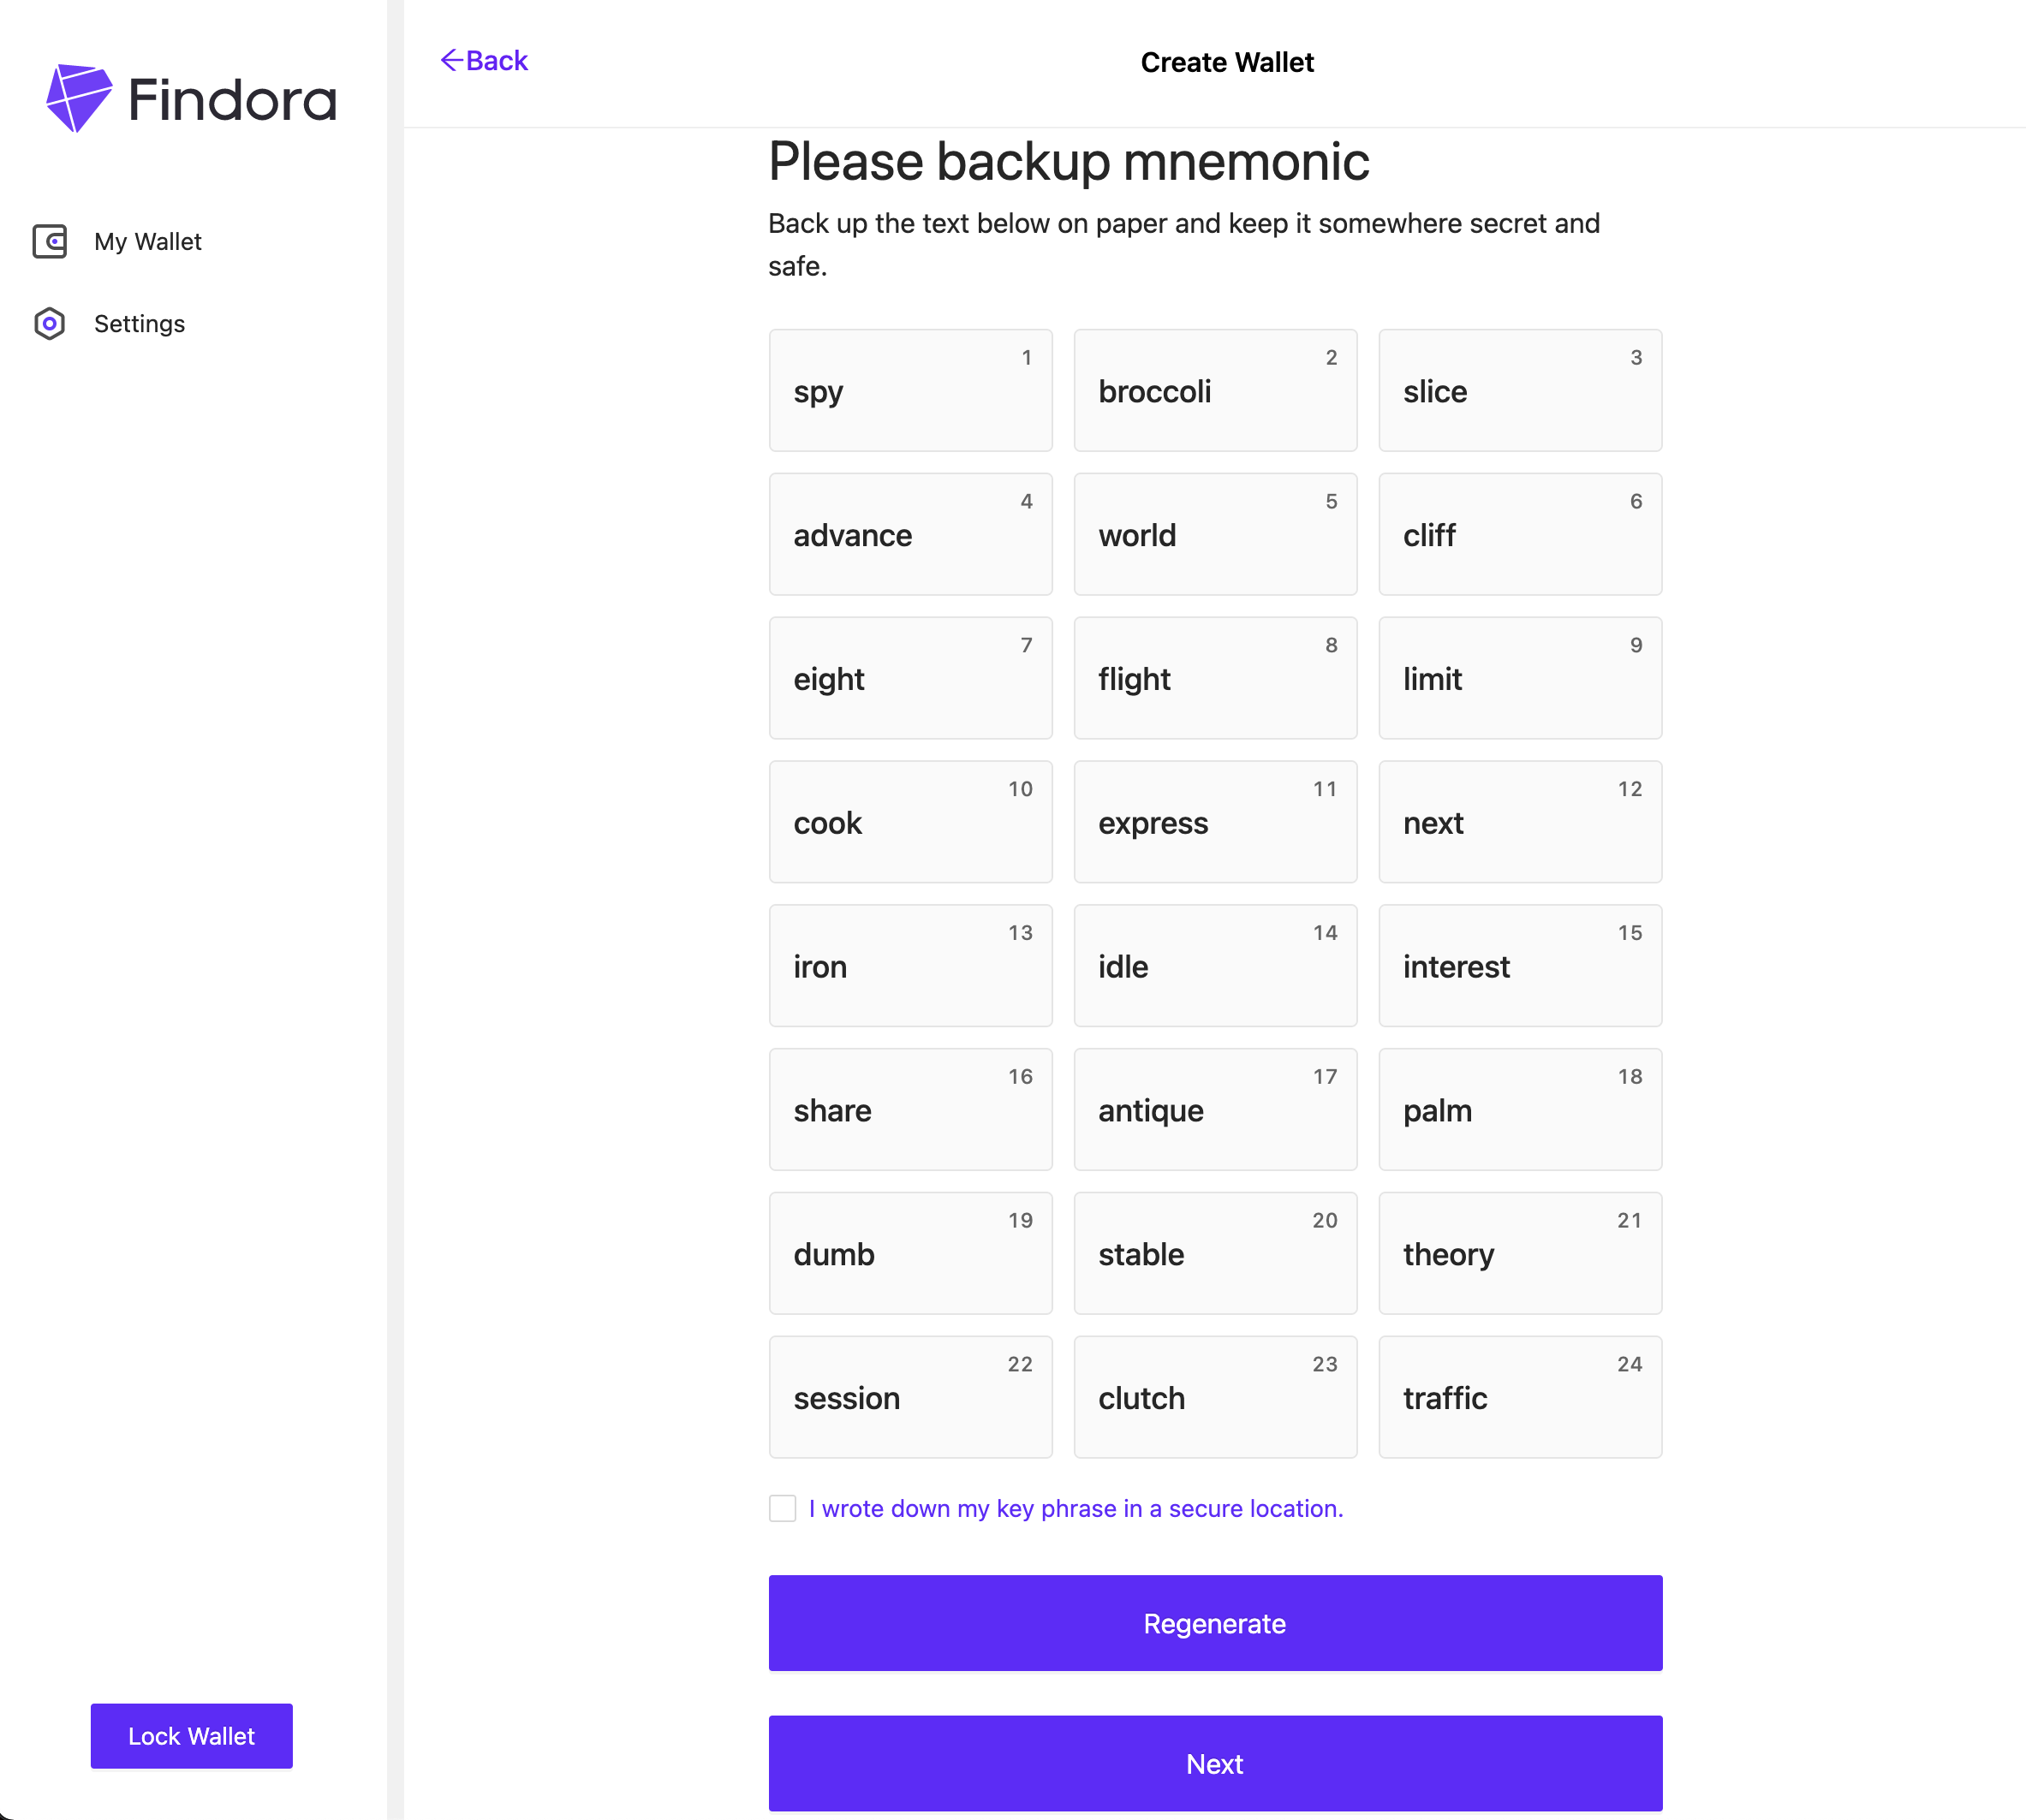
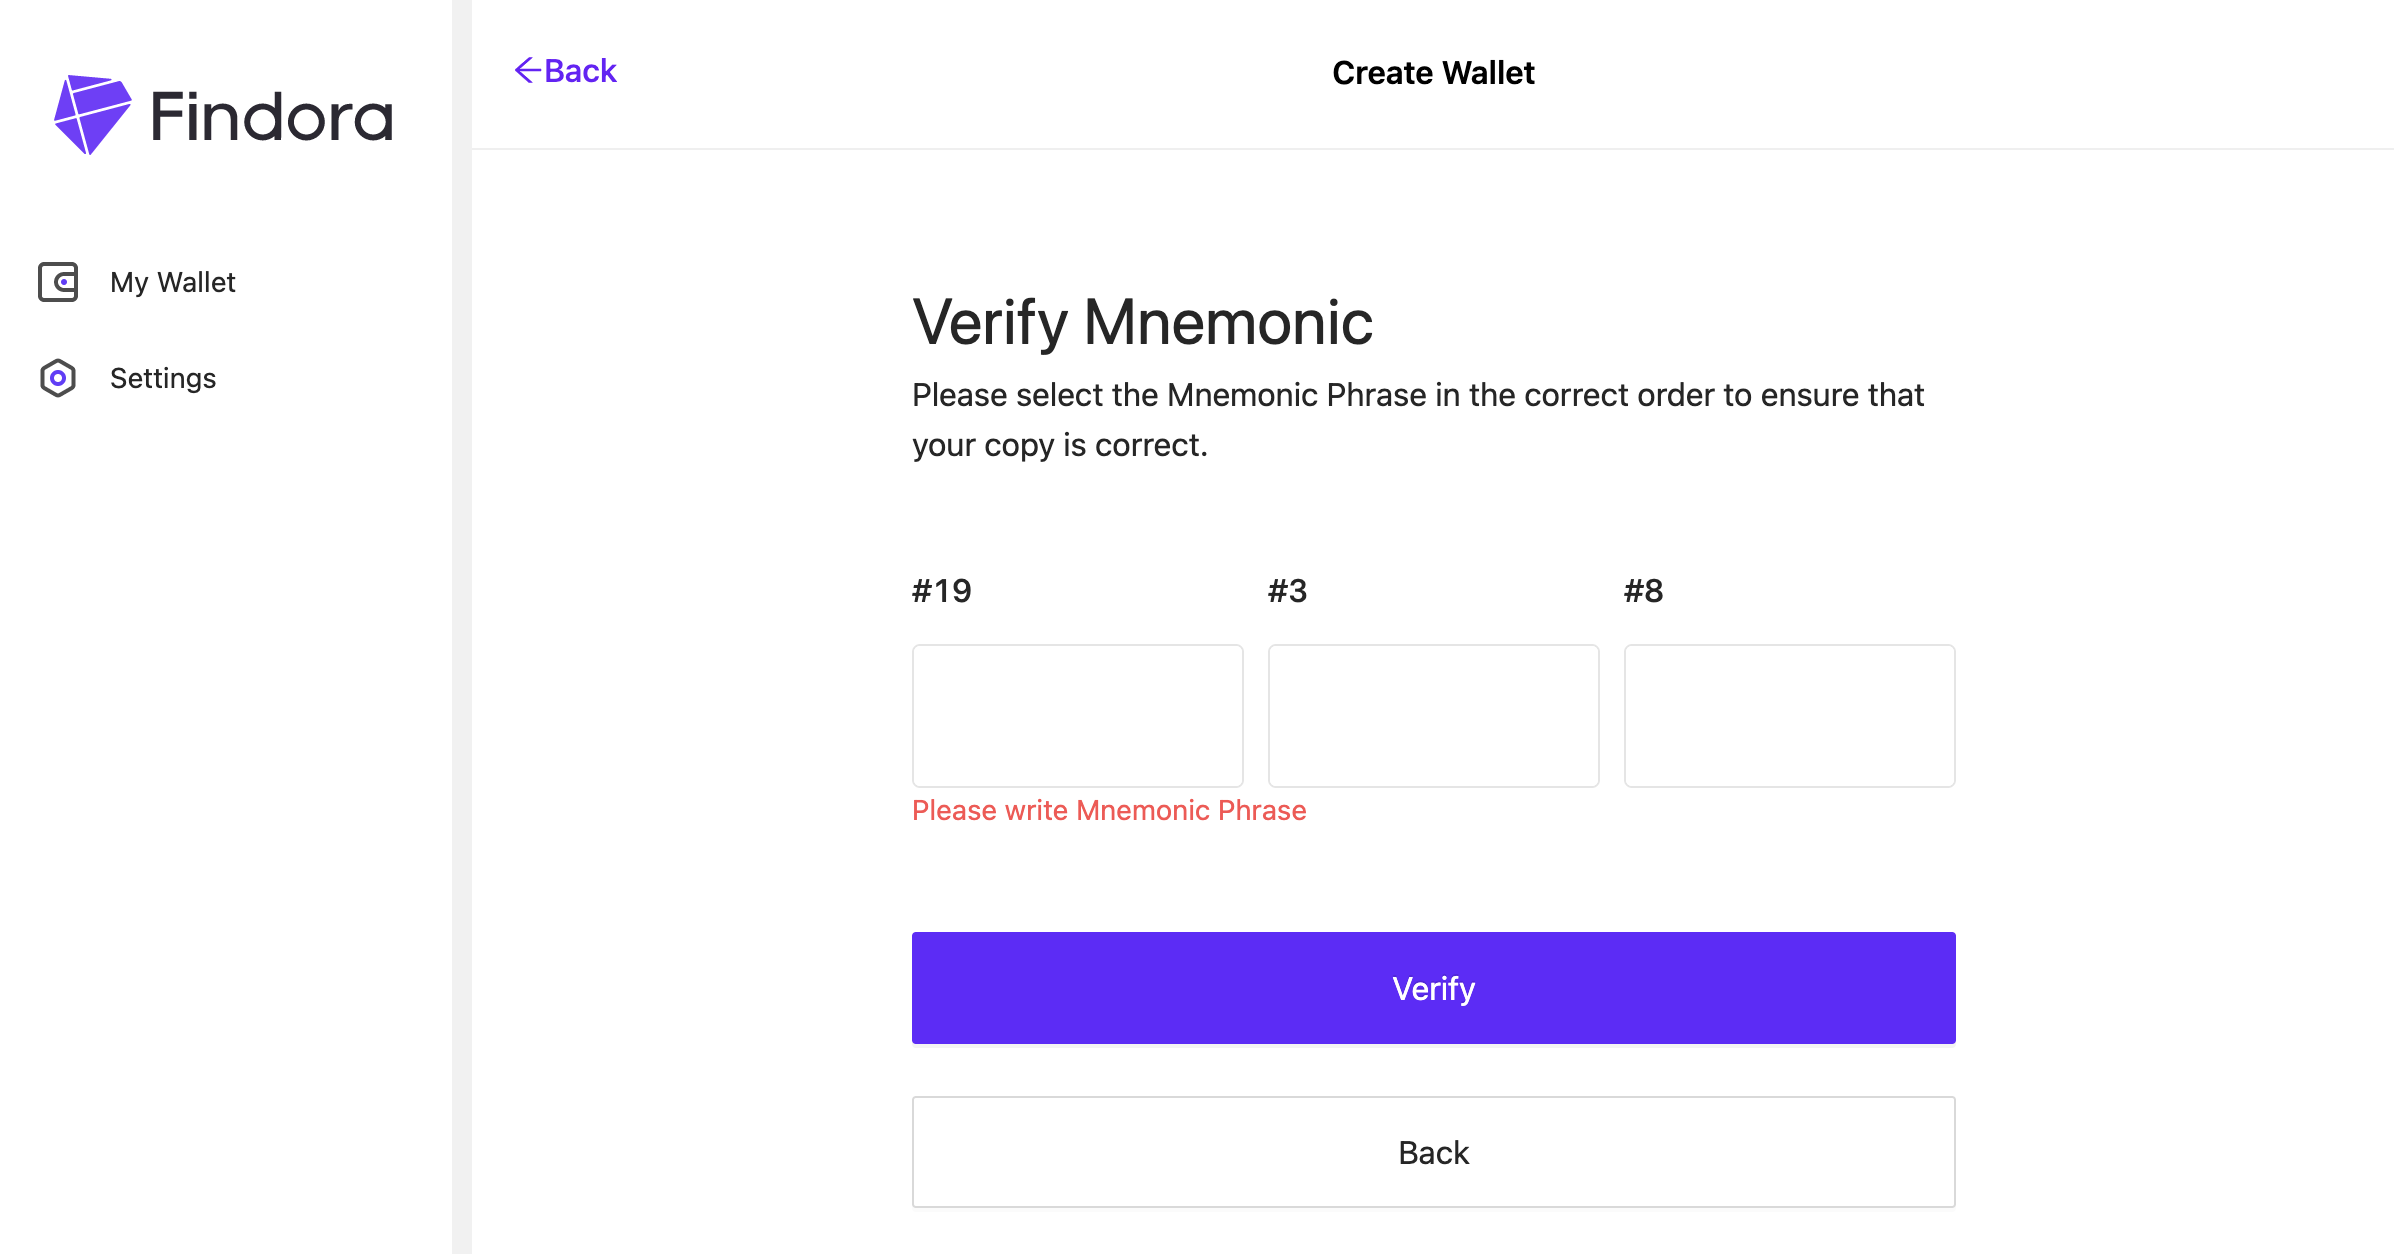
Click Next and enter in the seed words you saved earlier to verify you have securely saved the mnemonic seed words elsewhere.
Import Wallet
Click Import Wallet to import a previously created private key (and related wallet address) into the app. Below are three ways to import your private keys:
From Mnemonic
To importFrom Mnemonic, type in all Mnemonic seed words related to that private key. You should have recorded these seed words securely offline.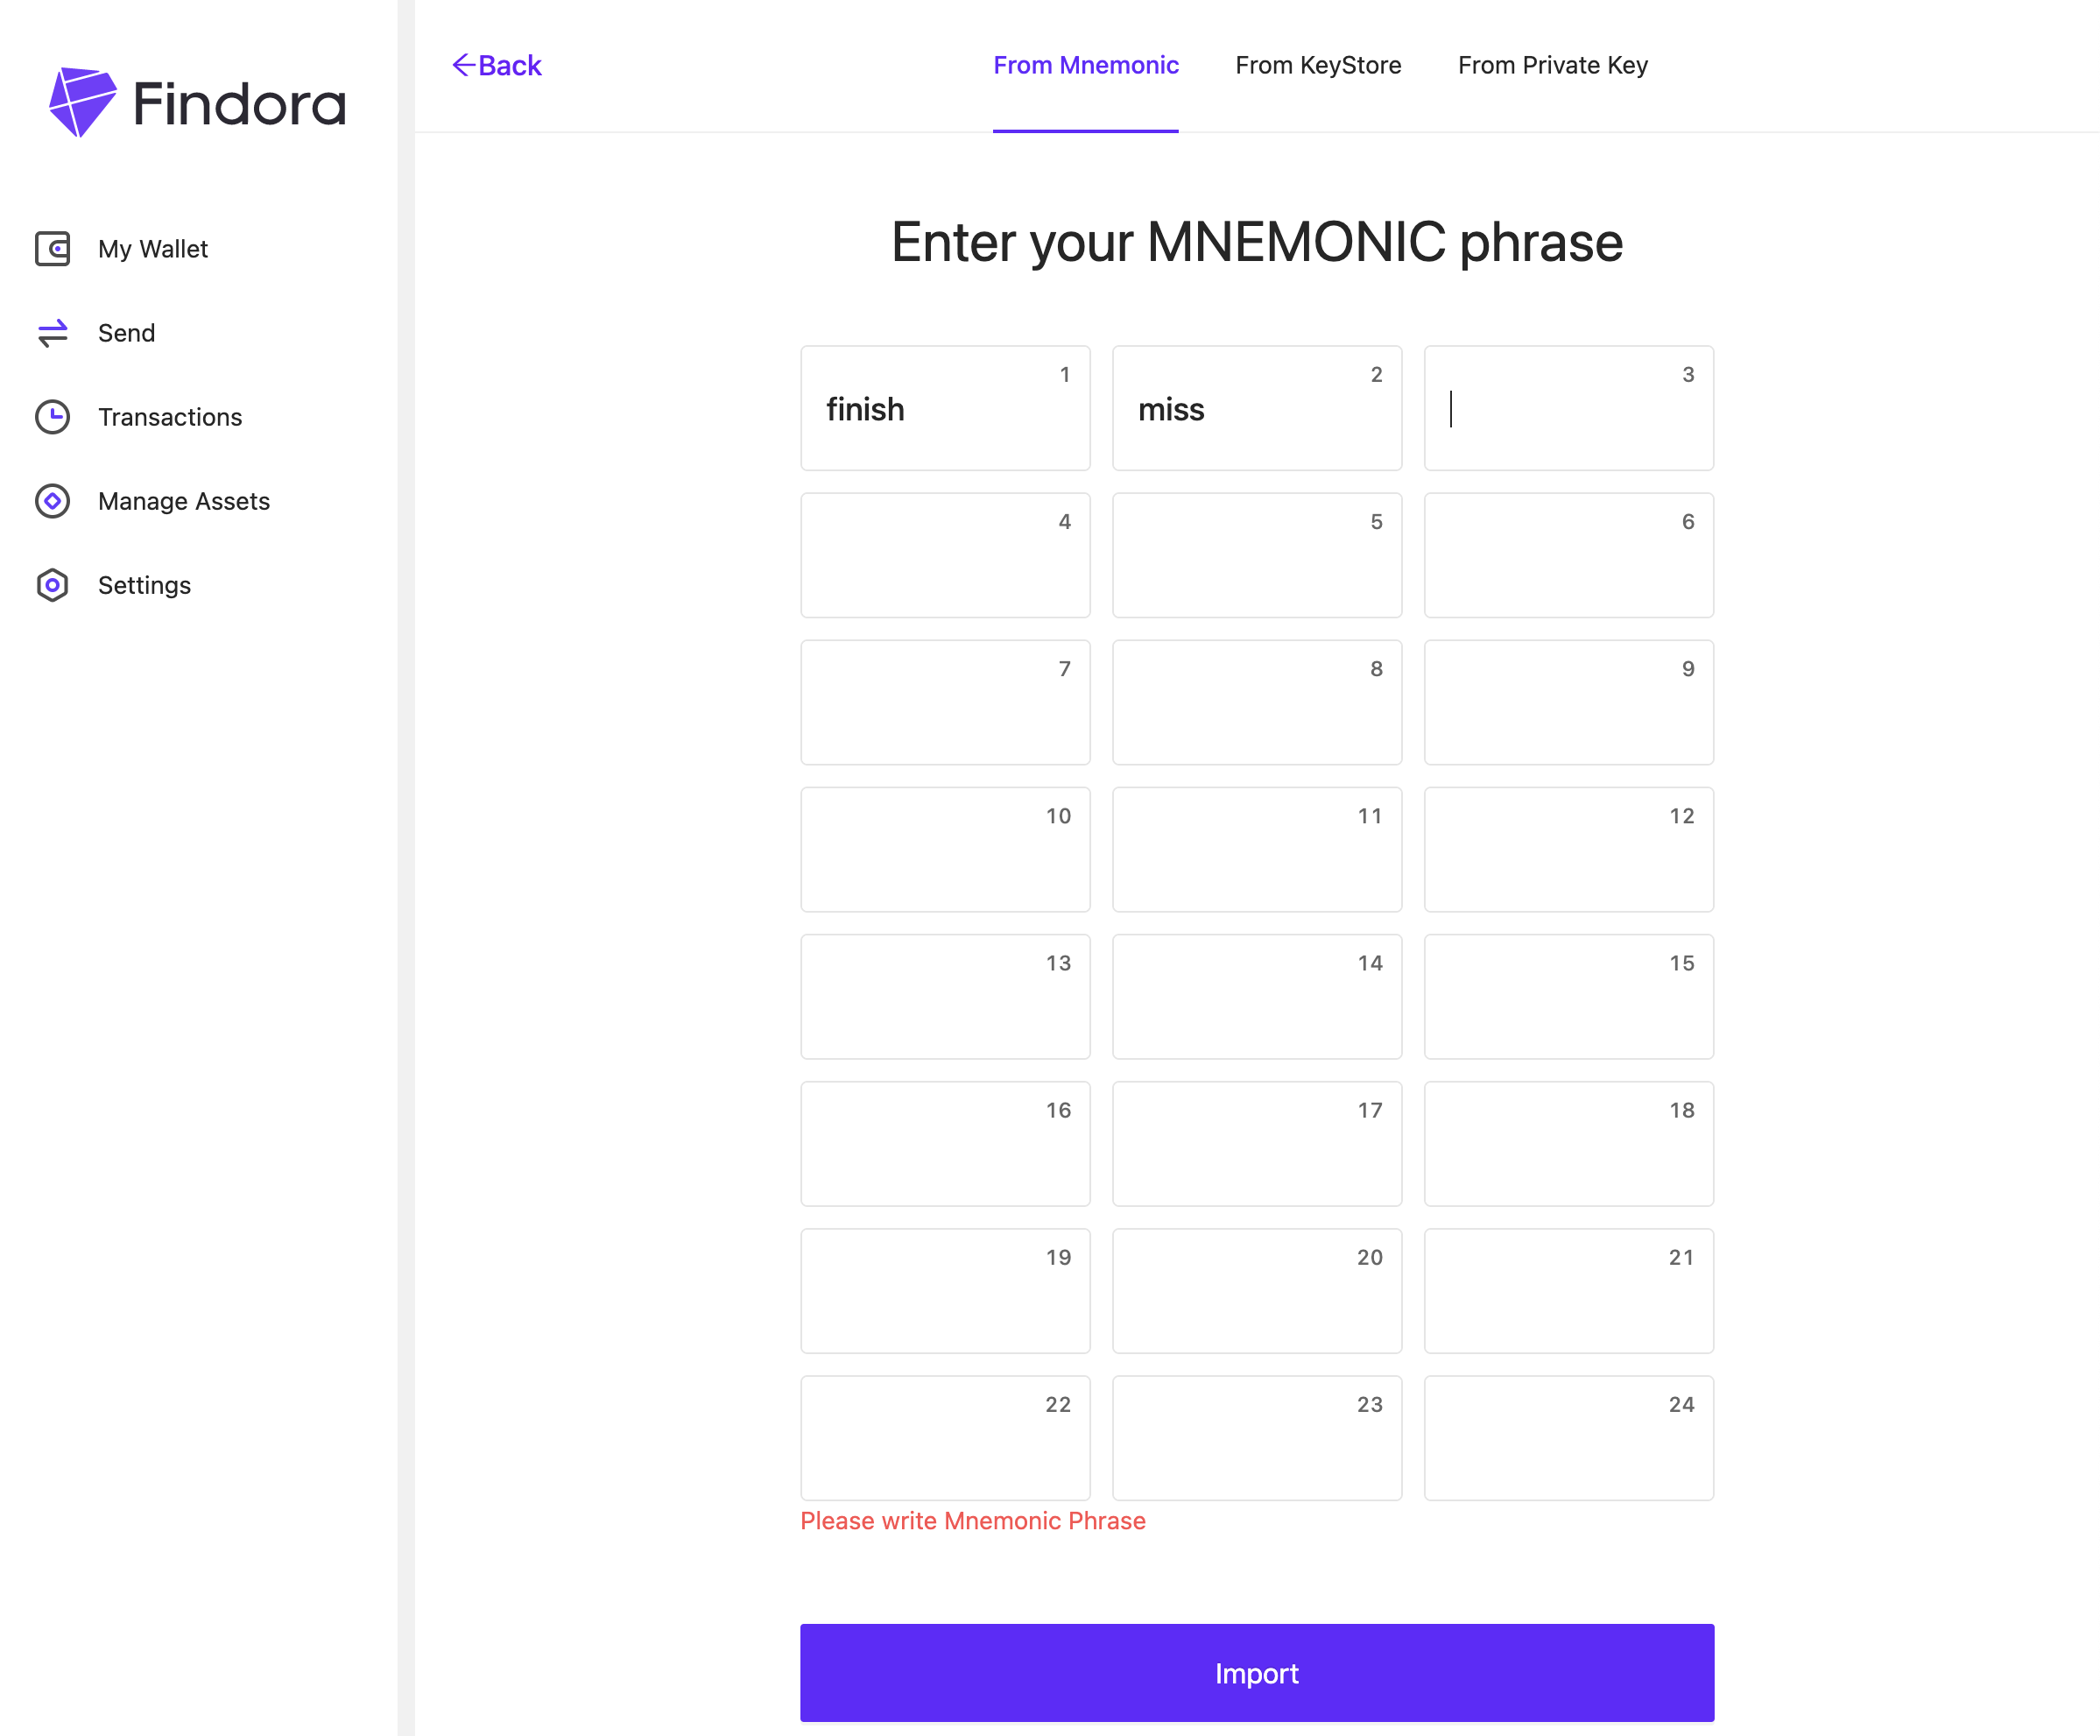
From KeyStore
To importFrom KeyStore, upload the KeyStore (which contains a private key inside) to the app. You will need to enter the password that was supplied with the KeyStore to complete the import process.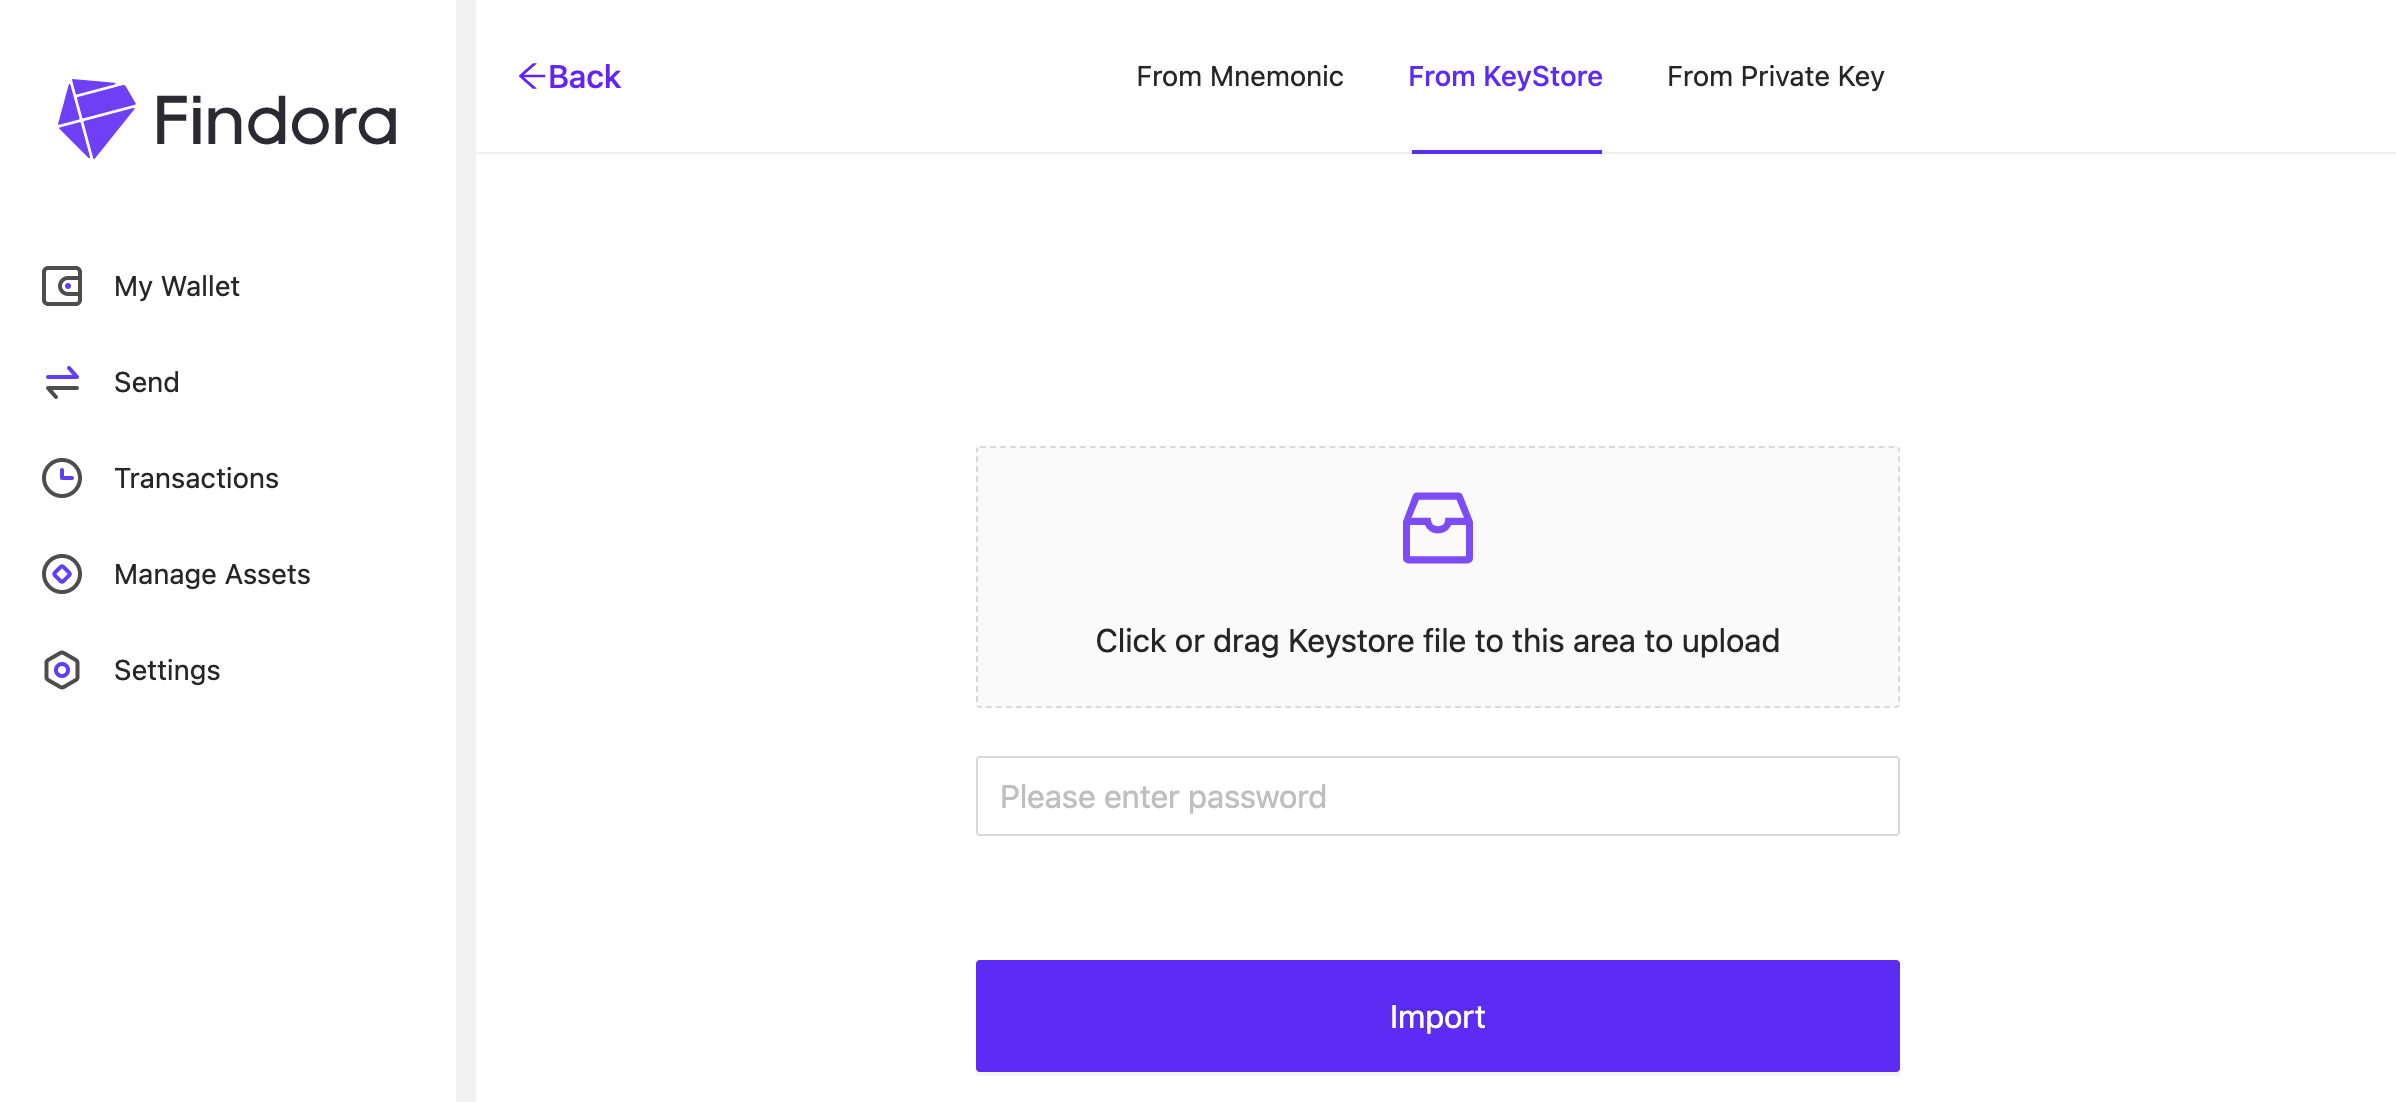
From Private Key
To import directlyFrom Private Key, type in or paste in the private key value (i.e. a long string of random alphanumeric values).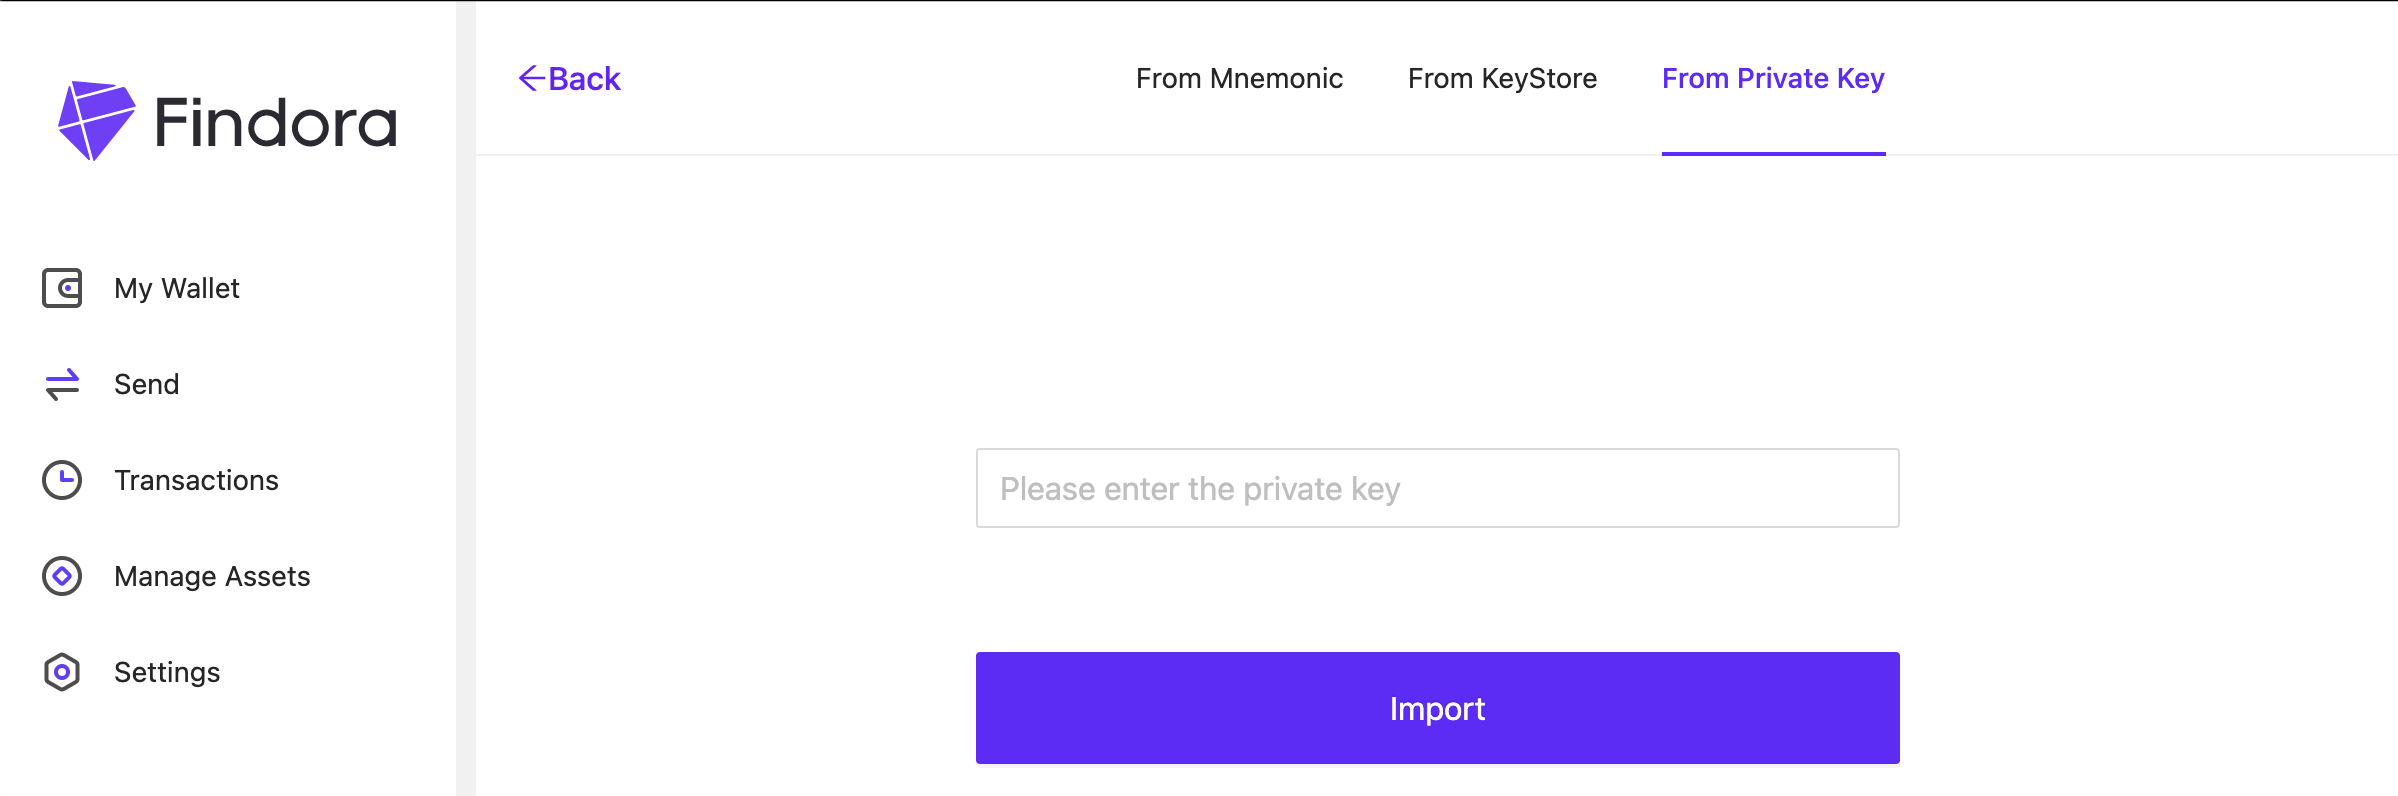
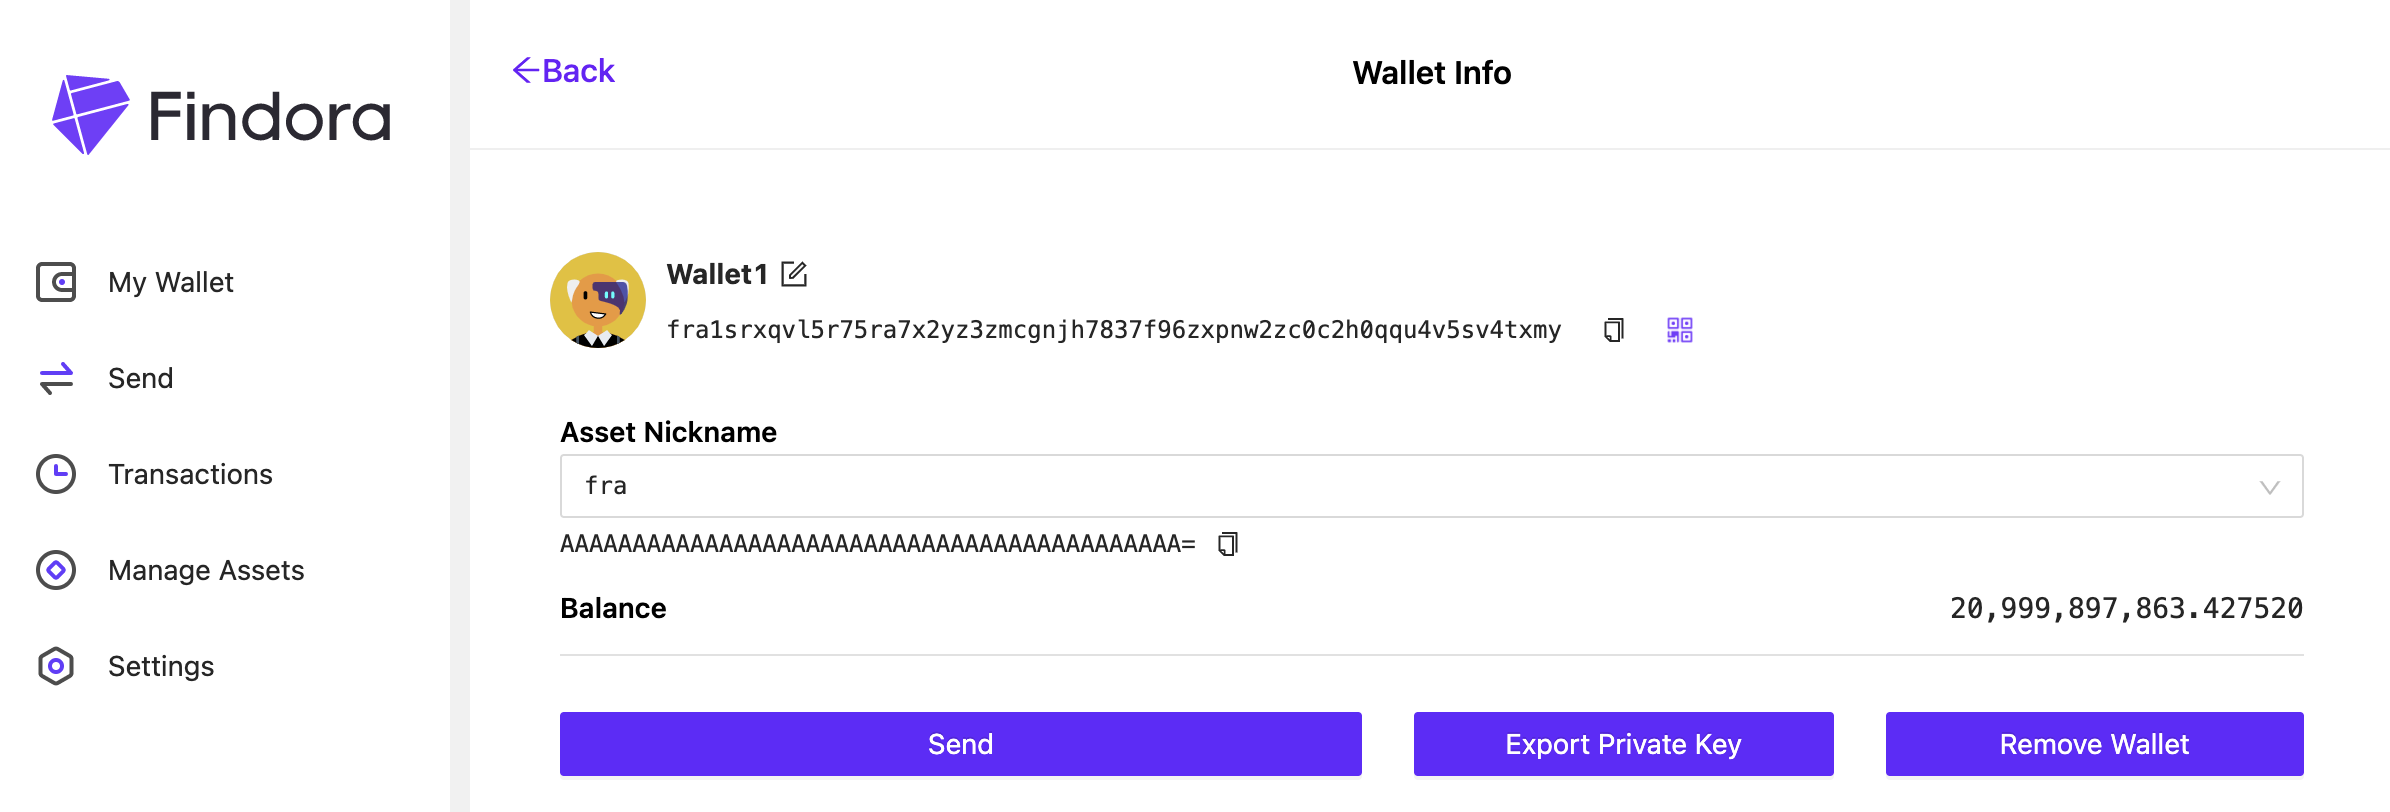
View Wallet
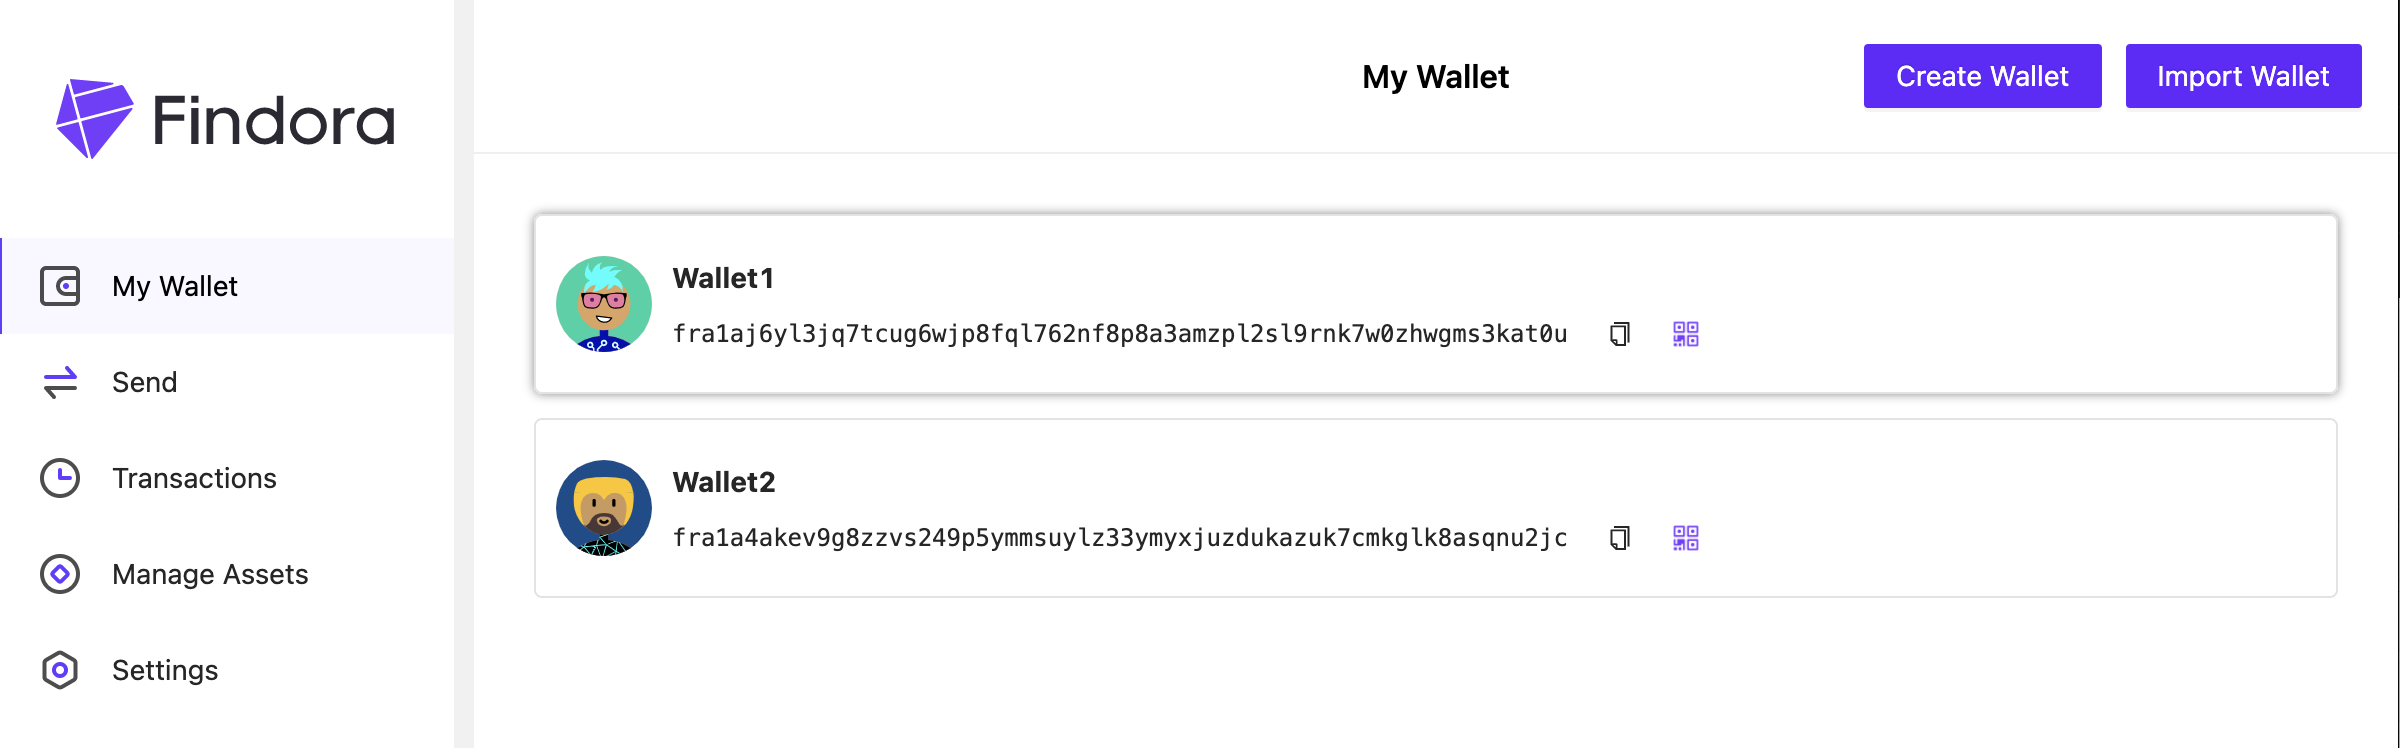
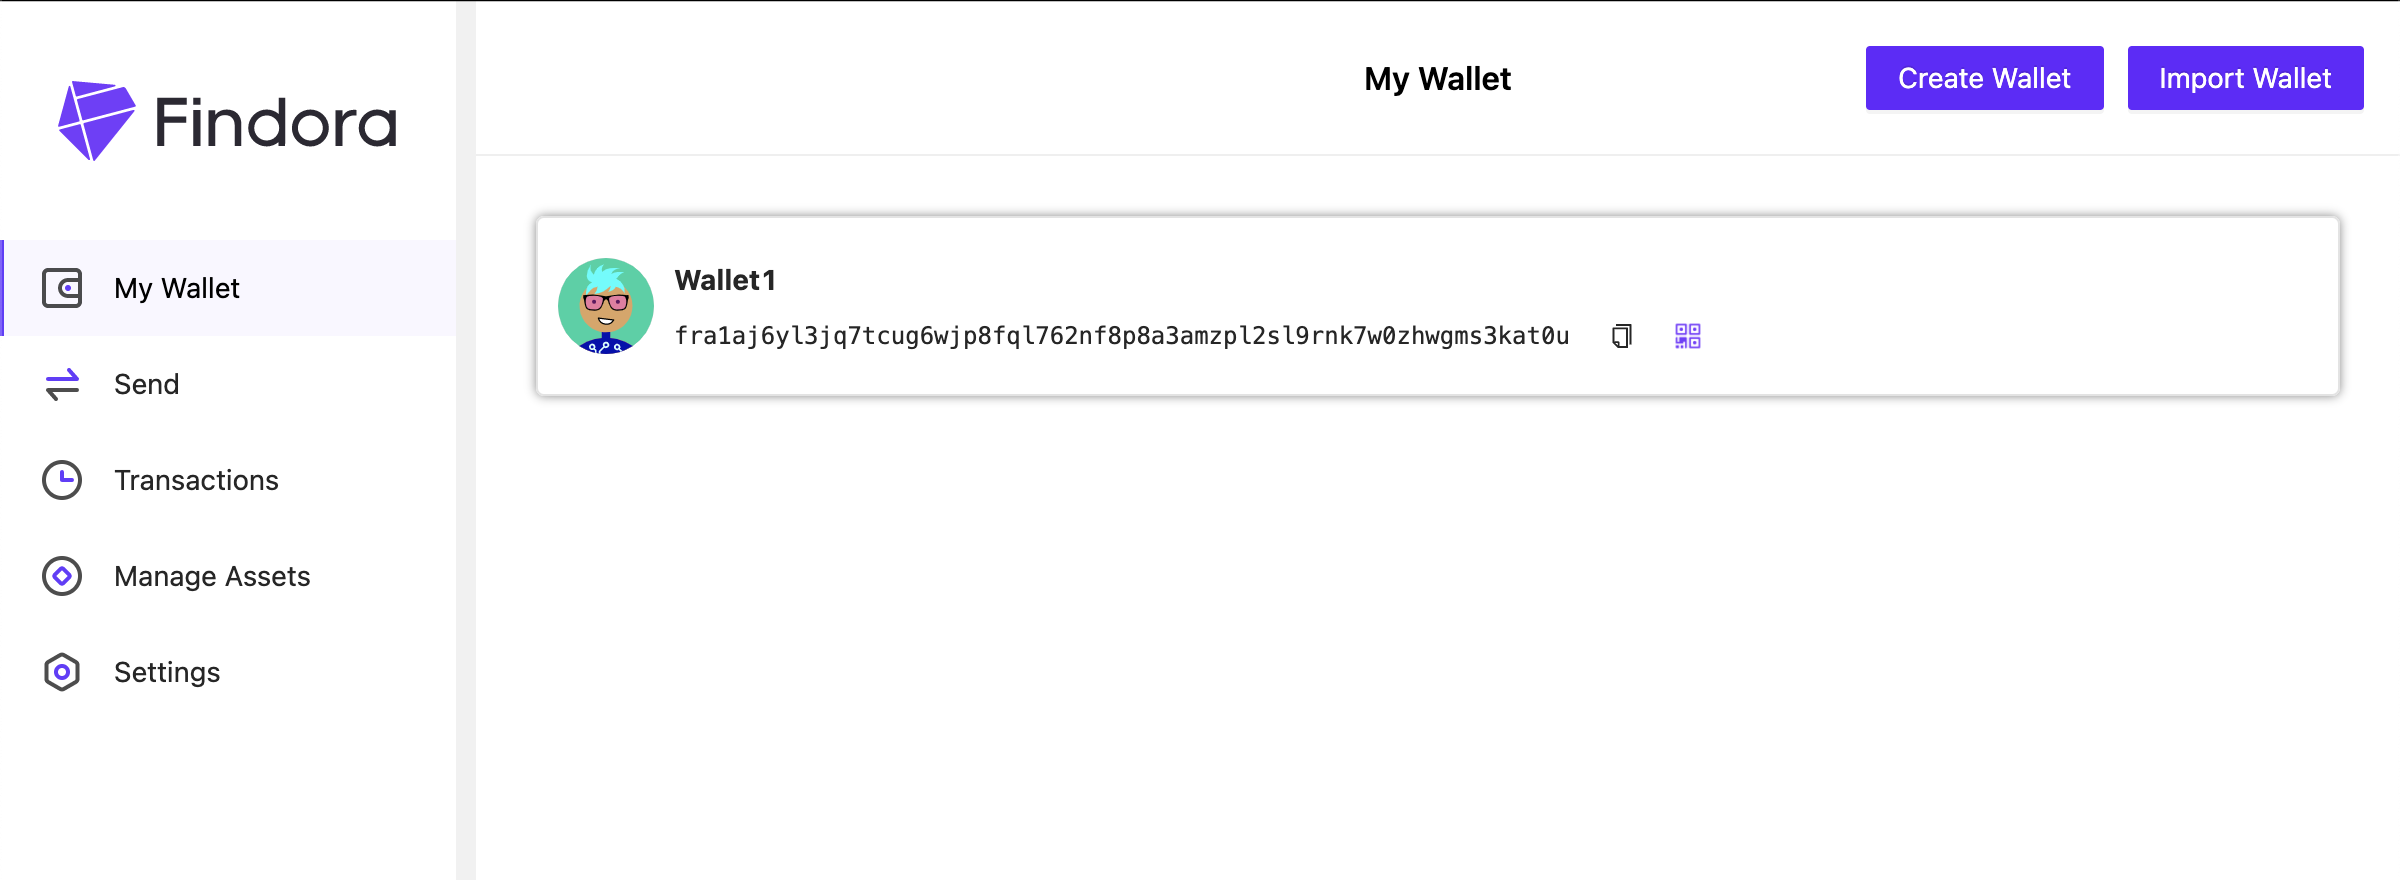
The My Wallet screen lists all available wallet addresses managed by this app. Each wallet address is connected to a unique private key stored inside the app.
Below the wallet name is the wallet address, which is a long string of random text and numbers. The wallet address is the account where you will receive FRA tokens (or other custom tokens). Give your wallet address to users who will be sending you tokens. You can get a copy of the wallet address via the two buttons below:

The button on the left copies the wallet address to memory so you can paste into an email or text message to give to the sender
The button the right opens a QR code which you can scan with your mobile phone camera to import the address into your phone
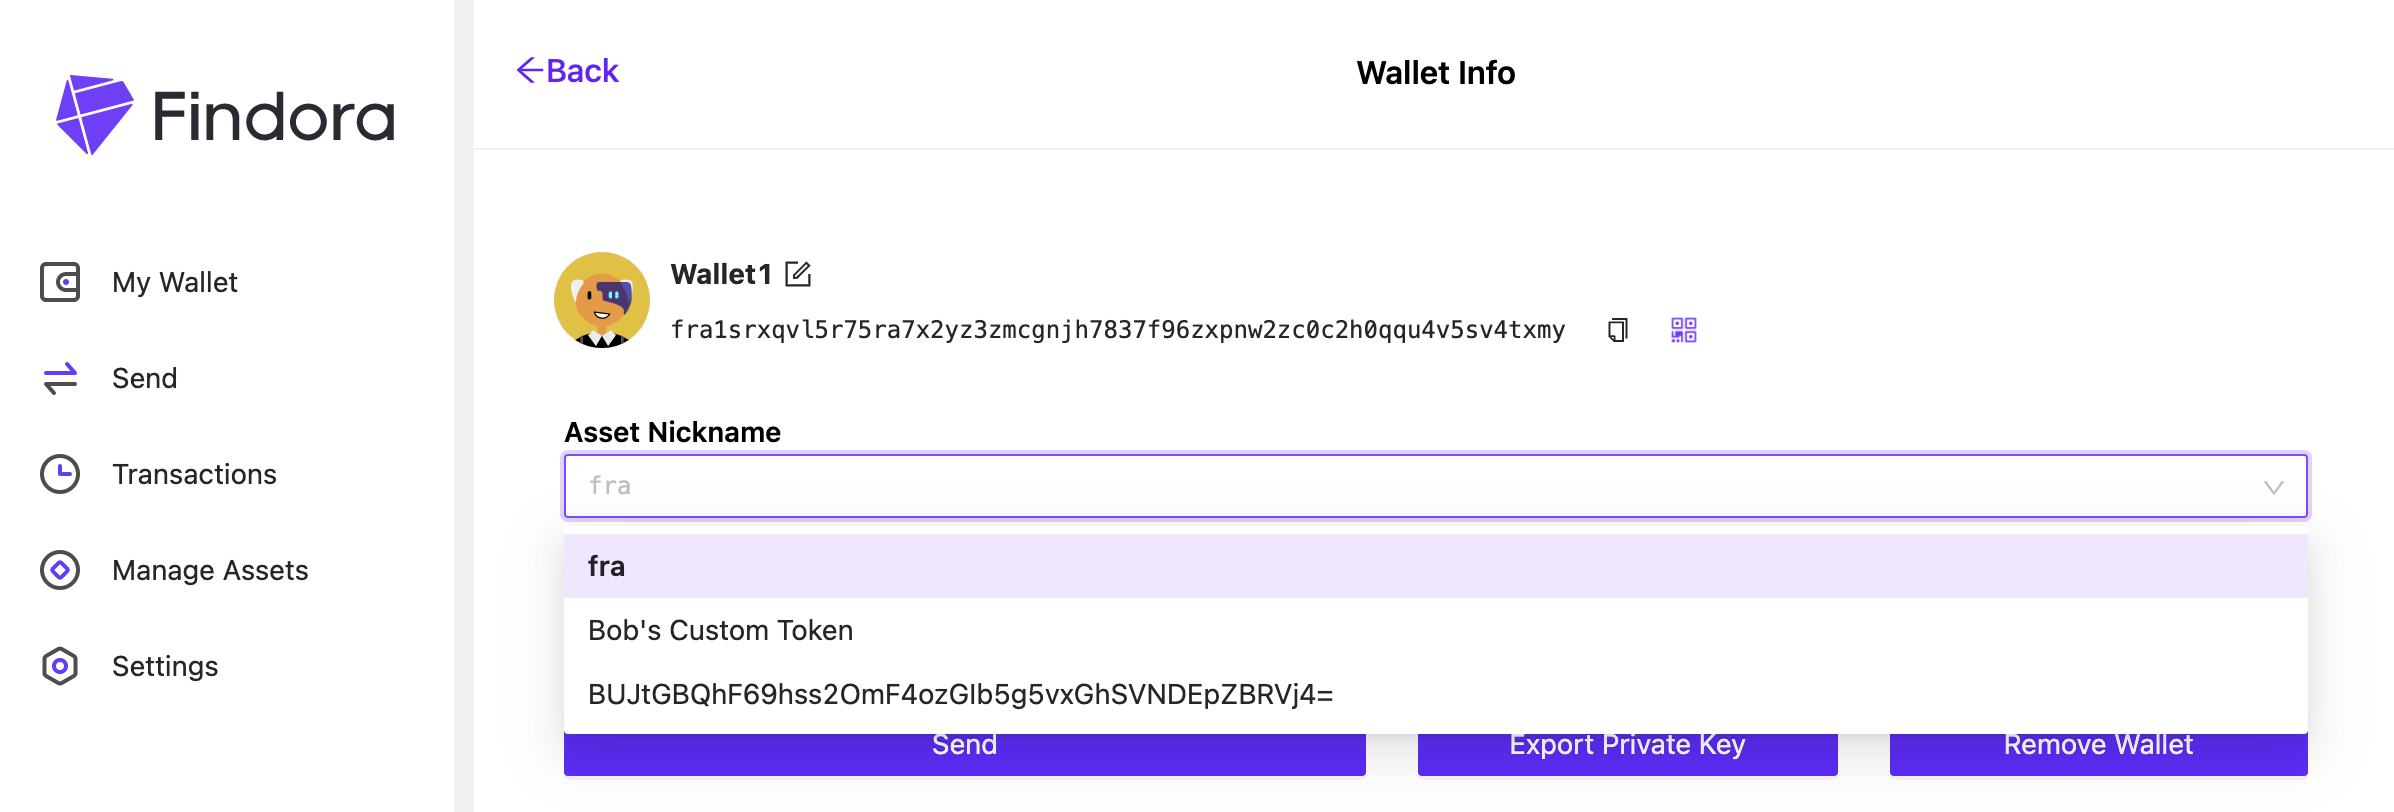
To view a wallet's Balance, click on the wallet address and you will be taken to Wallet Info page. The default token type displayed is fra.

To check the balance of other tokens stored with that specific wallet account, use the pull-down menu to change the token type (if they exist)
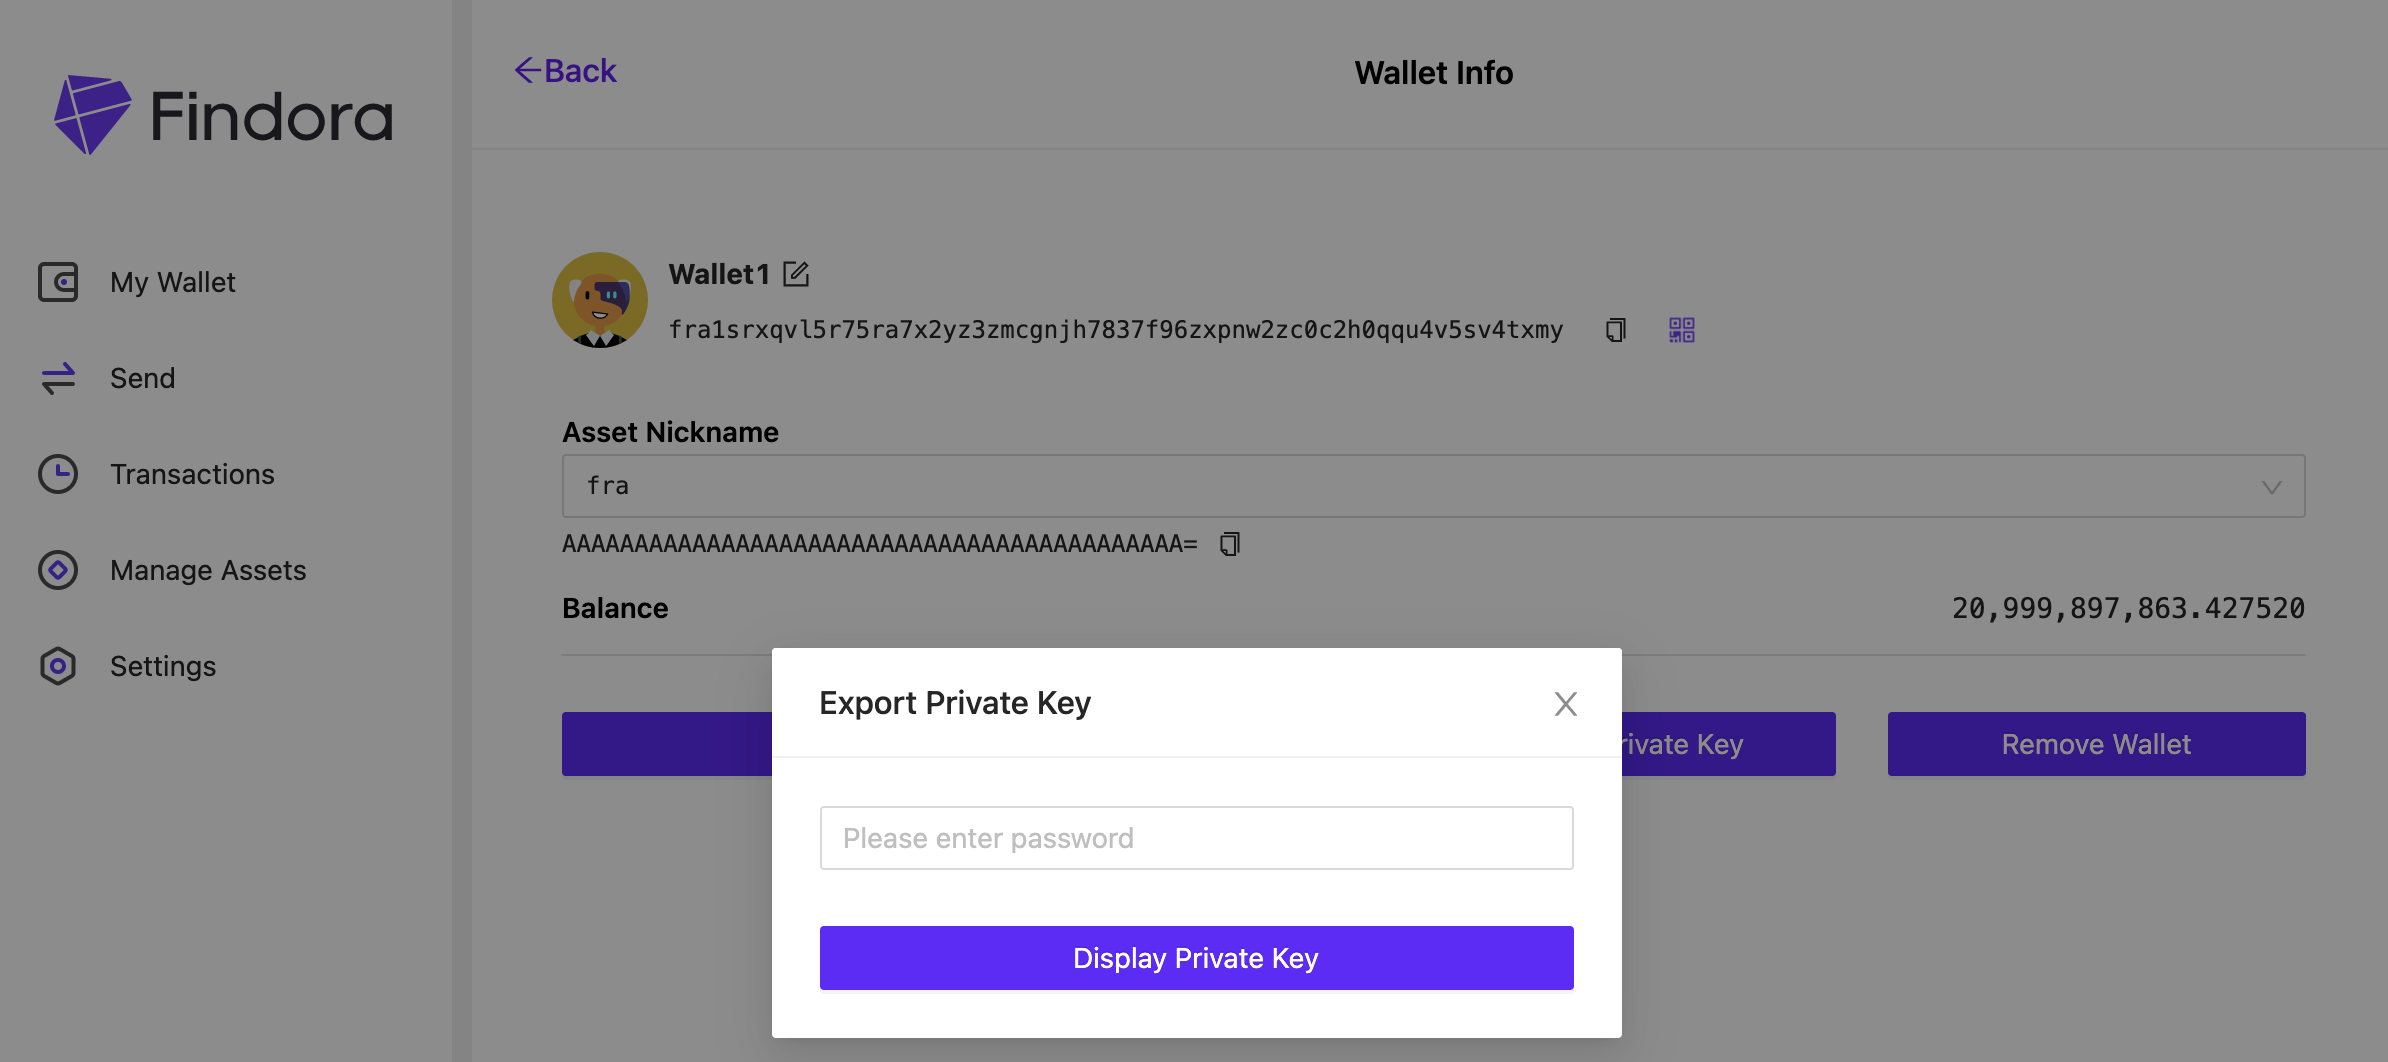
Export Privatekey
- Go to
My Wallet⇒Wallet Infopage and clickExport Private Key
- Enter your password and your private key will be displayed on screen
Send
Transfer Transaction
To send a transaction follow the steps below:
- Go to the
Sendpage, and fill out all input fields
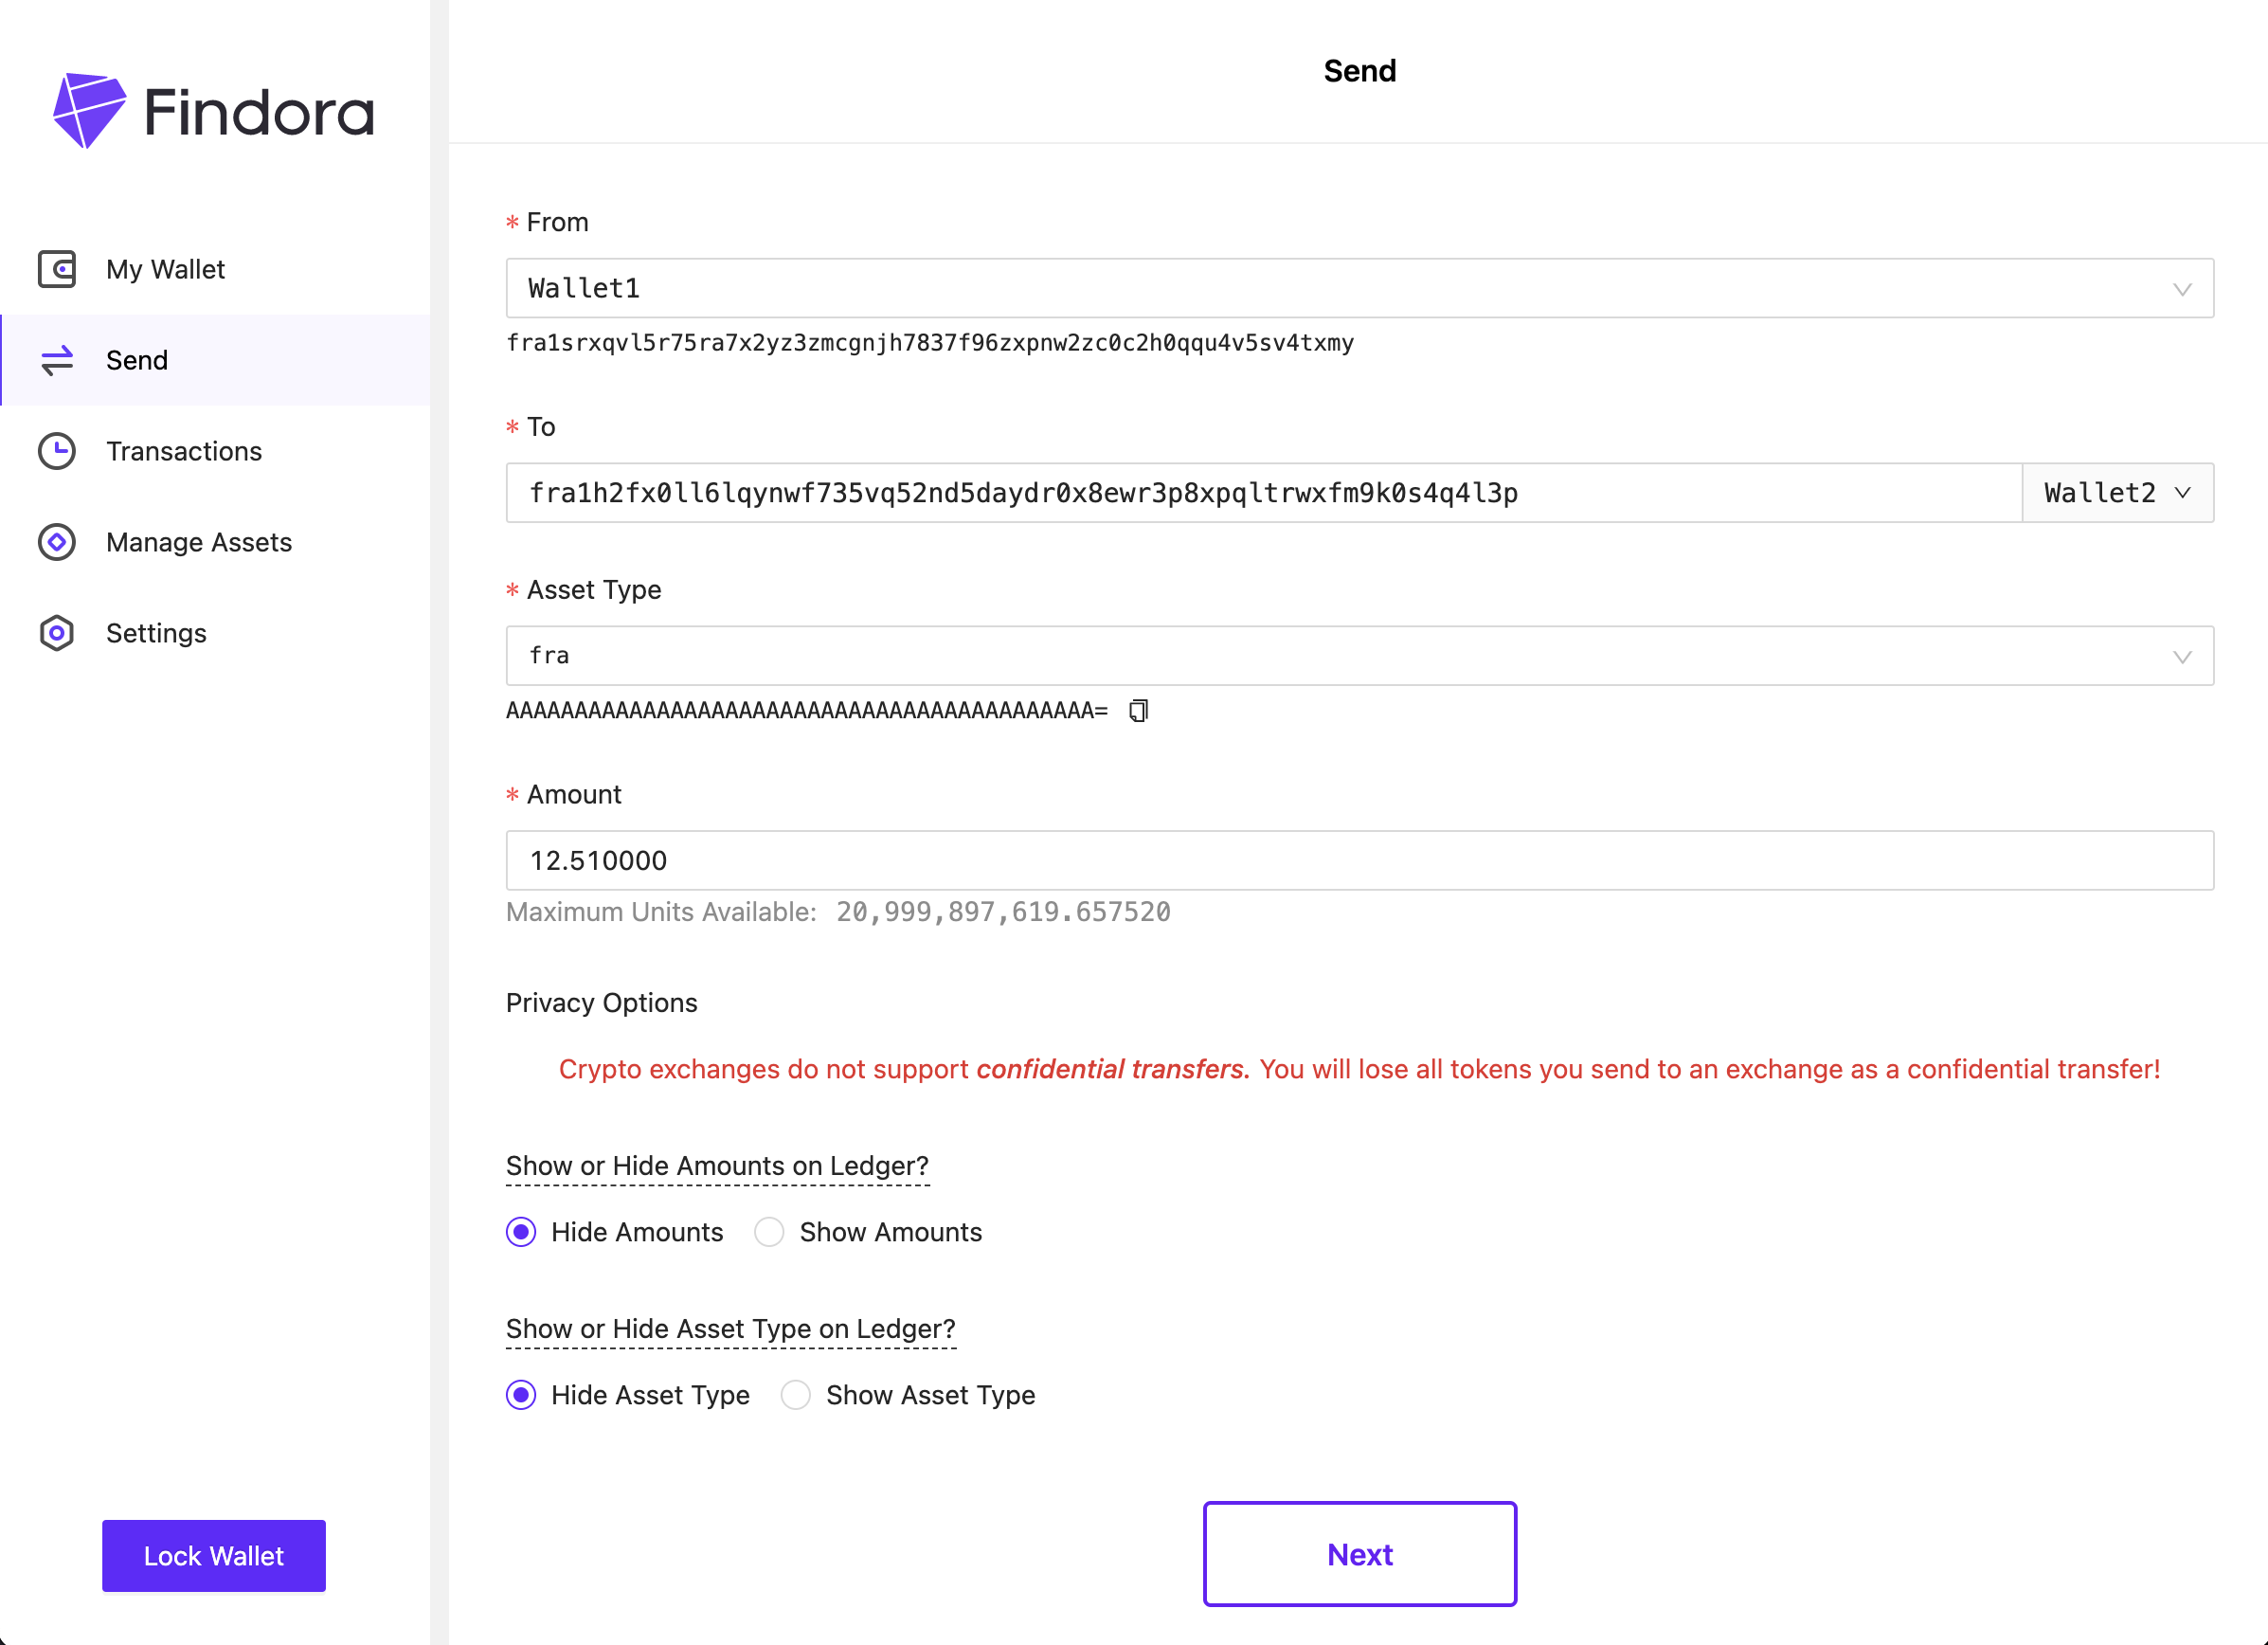
From- the wallet address you will send tokens fromTo- the wallet address you will send tokens toAsset Type- pull-down menu showing all available asset types (i.e. tokens) you can send
Note: If you have created (or imported in) custom asset types into your wallet, then you will be able to select these custom assets. Else, you will only see a single option forfratokensAmount- amount to send to recipientShow or Hide Amounts on Ledger?- By selectingHide Amounts, the transfer becomes a confidential transfer and the amount will be masked on the transaction log of the public block explorerShow or Hide Asset Type on Ledger?- By selectingHide Asset Type, the transfer becomes a confidential transfer and the asset type will be masked on the transaction log of the public block explorer
- Click
Nextand a confirmation screen will appear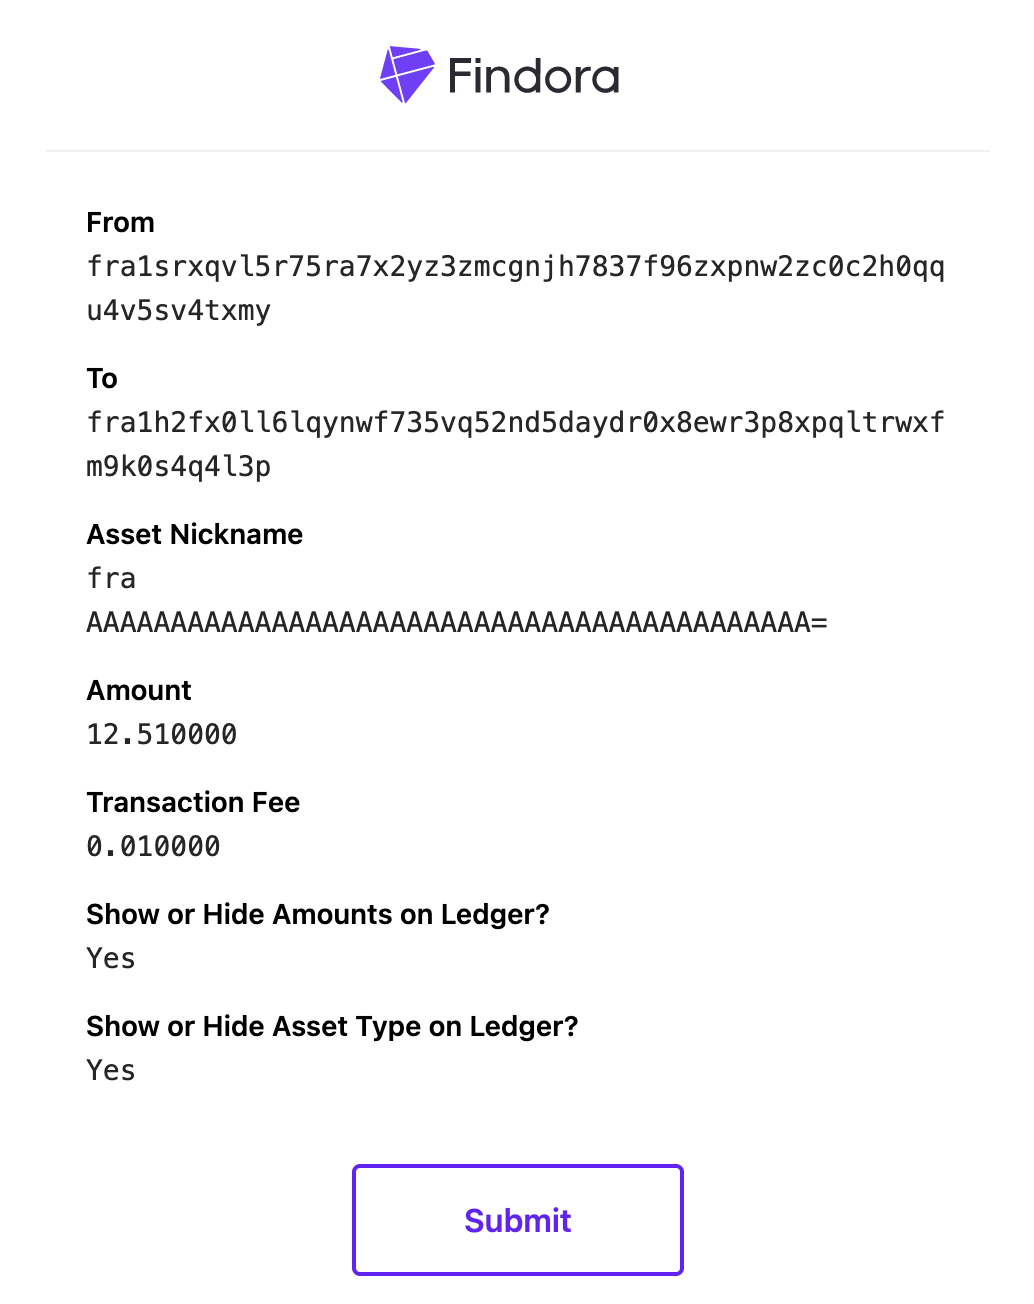
- Click
Submitto complete transfer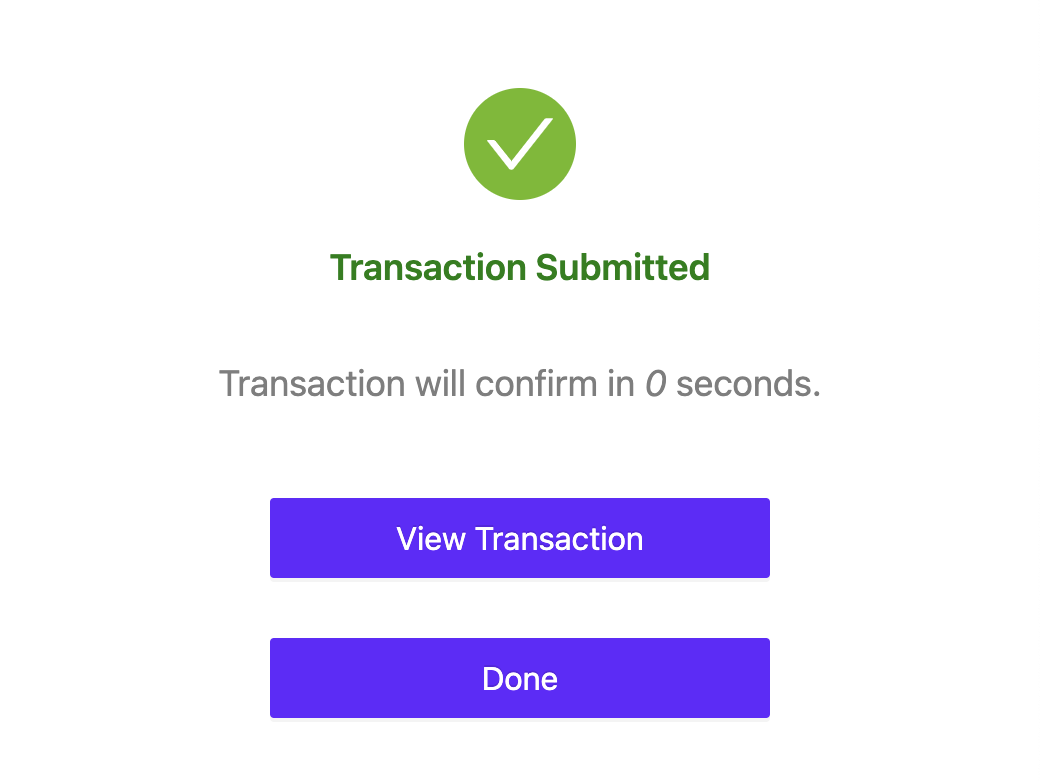
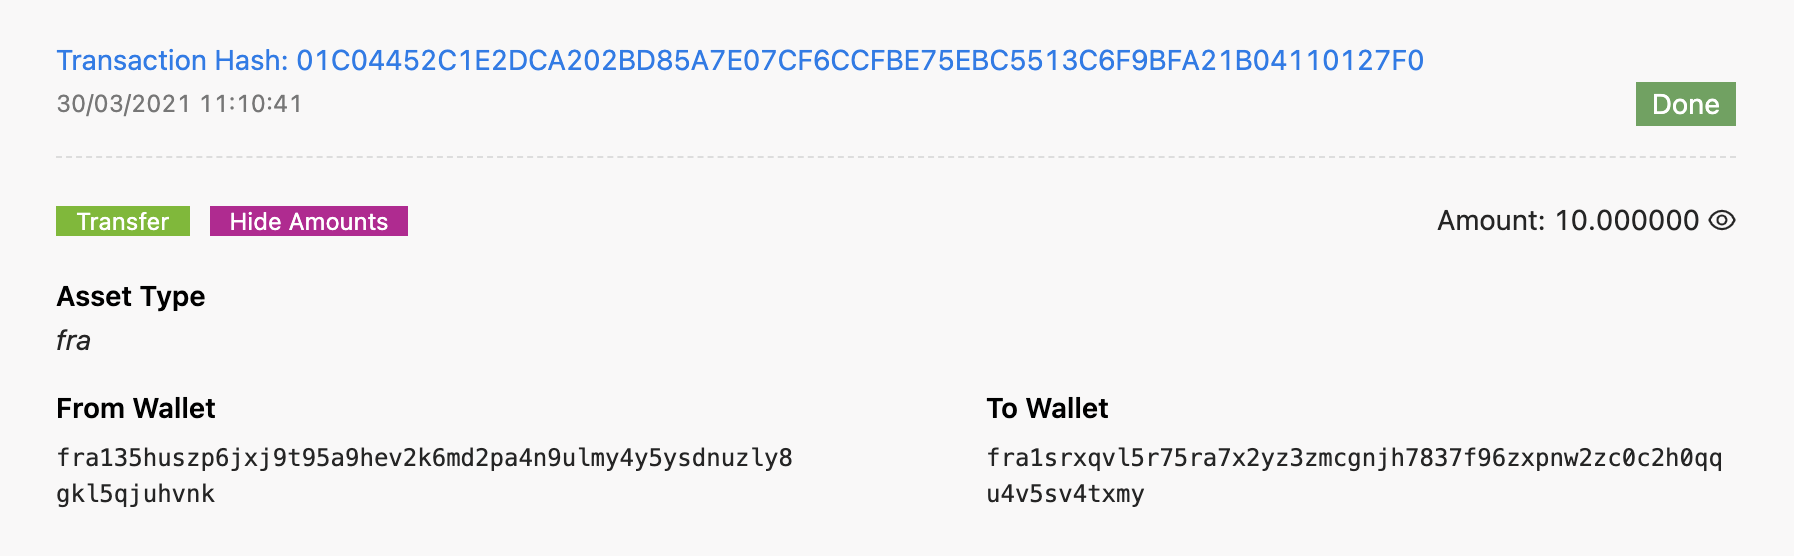
- After submitting your transaction, you can view the public record of your transaction on any block explorer. Click
View Transactionand you will be taken to Findora's own block explorer — findorascan.io.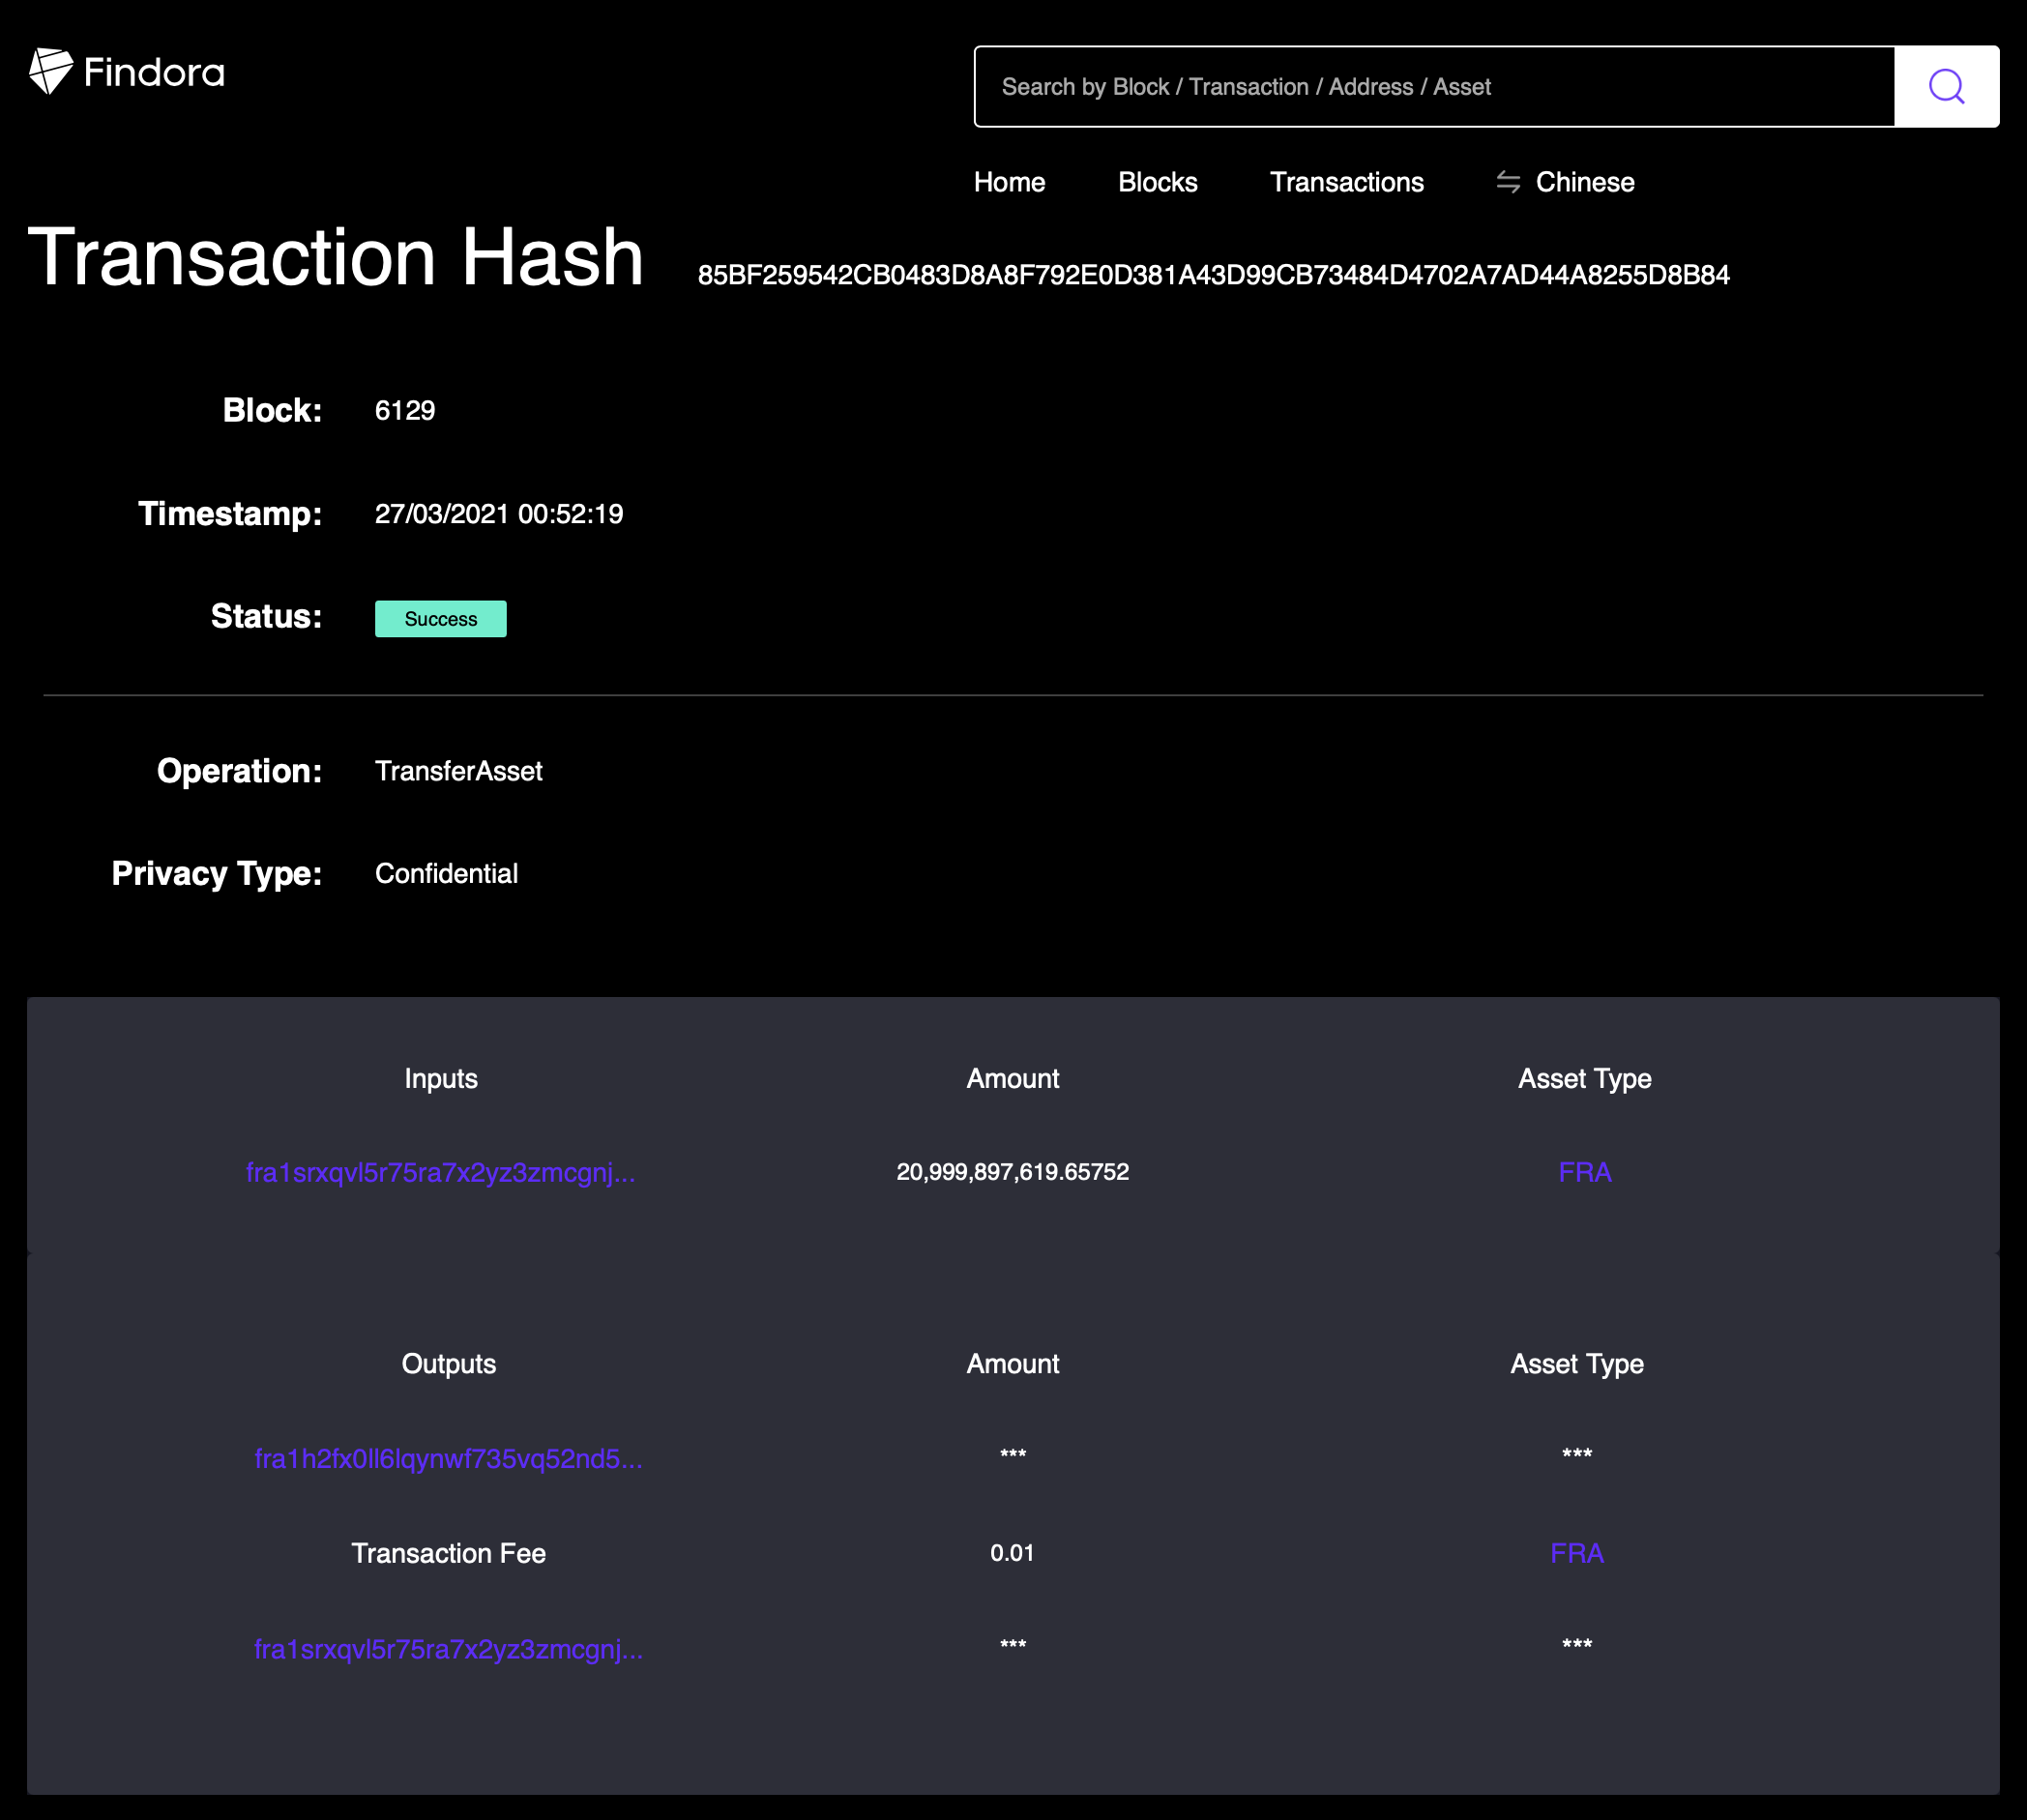
Note: This transaction log was for a confidential transaction with Hide Amounts and Hide Asset Typeenabled. Thus, the amounts and asset type is masked with *** on the public log shown on the block explorer
Historical Transactions
- Choose the wallet you wish to view historical transactions for:

- Historical transactions results will be displayed
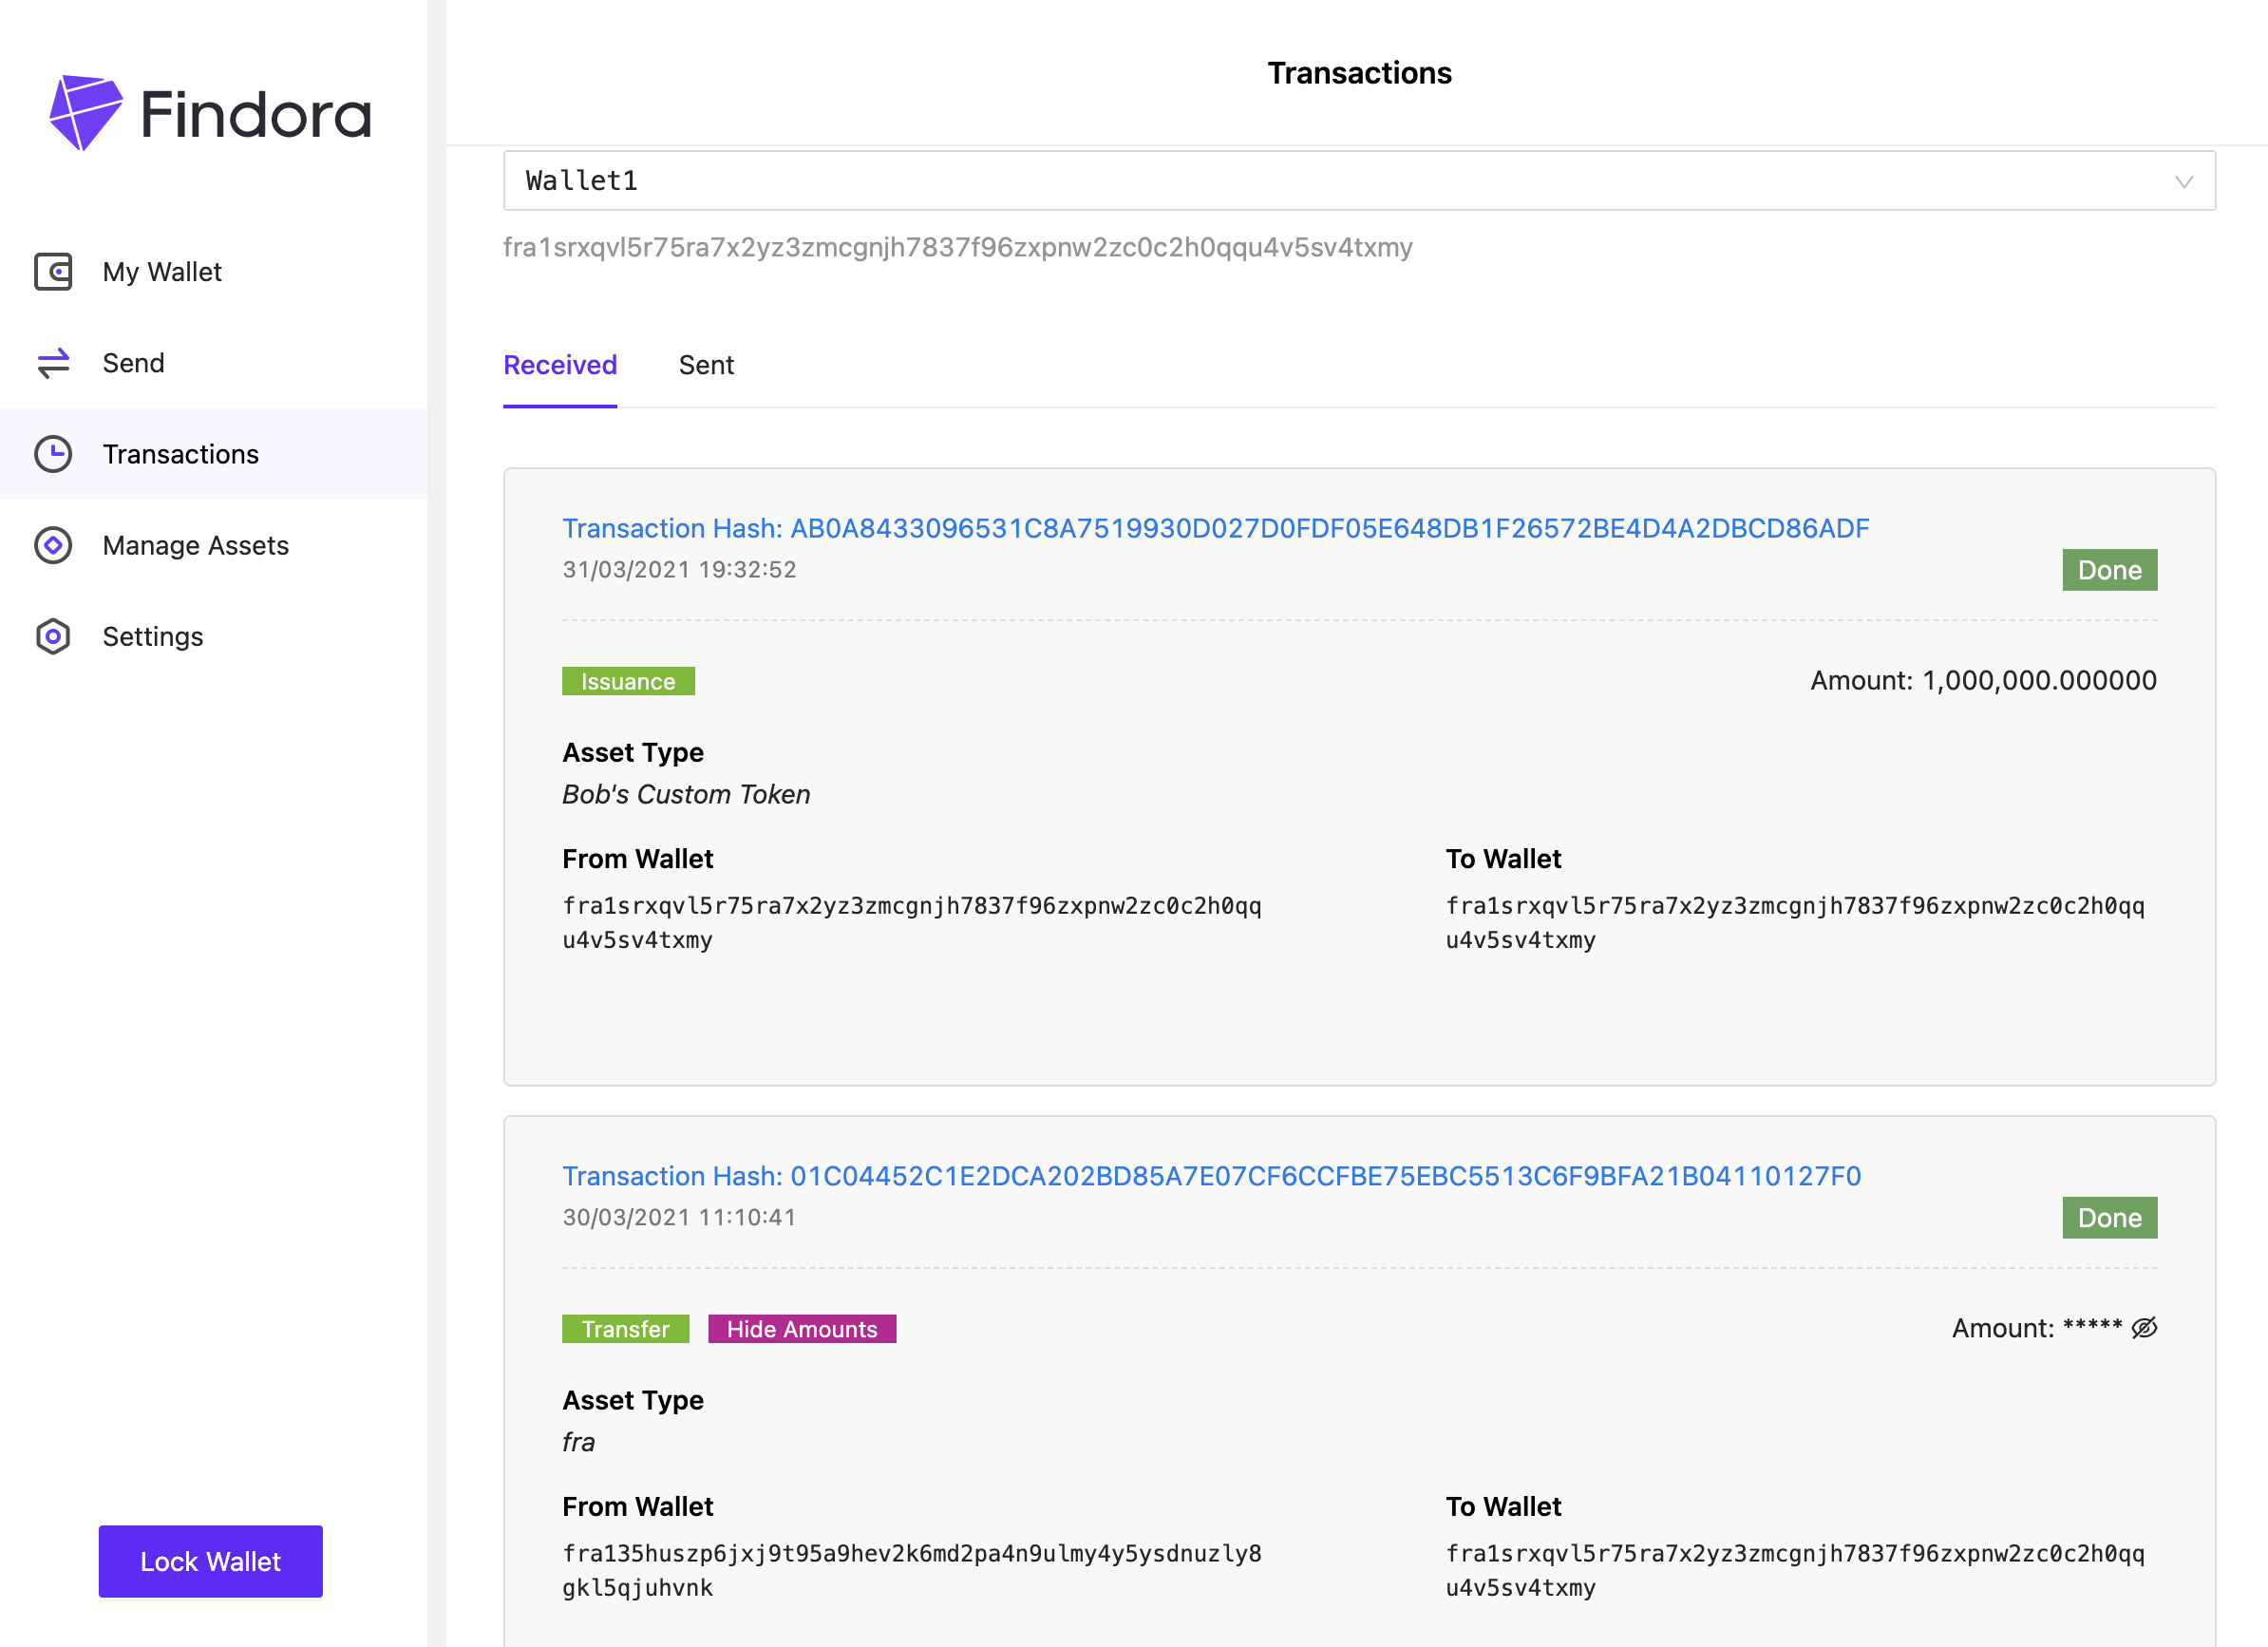
- If the historical transaction was masked, you will see
*****over the masked data. You can unmask the data by clicking the icon to the right of the masked data
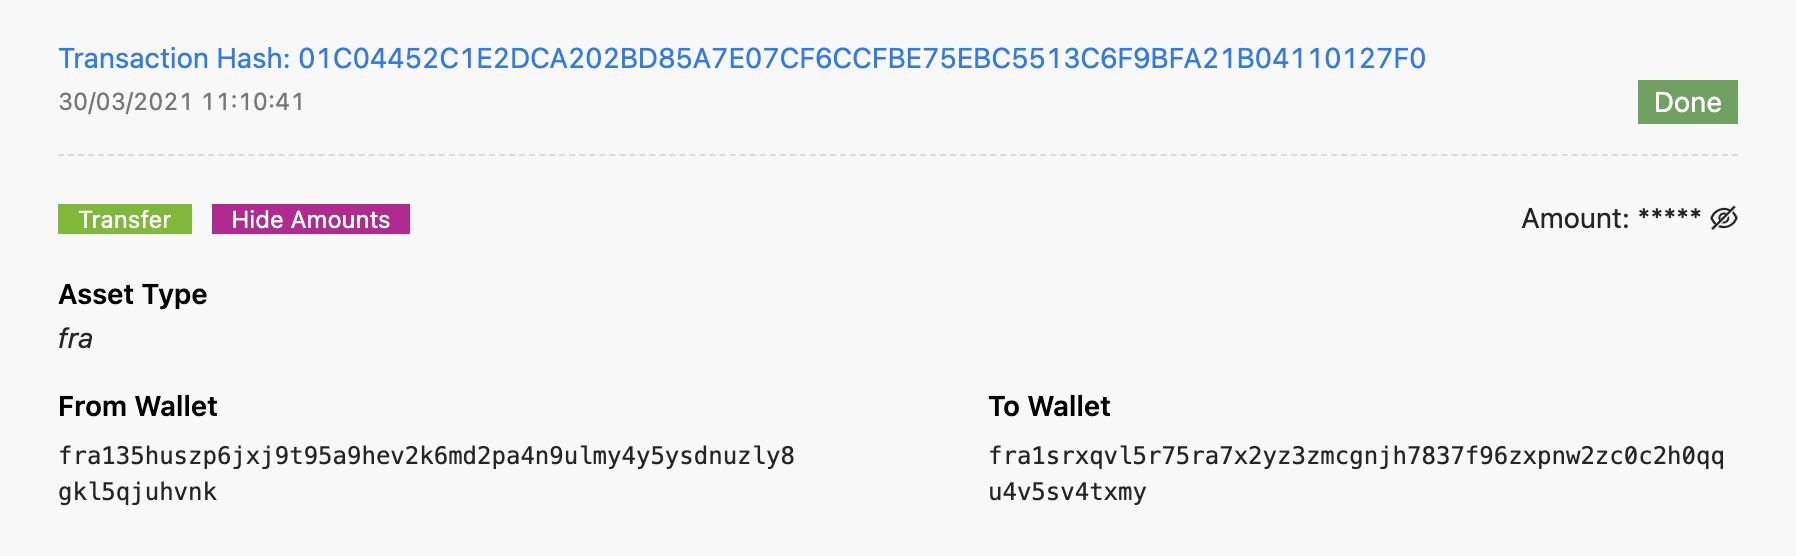
Masked Data Value
Unmasked Data Value
- You can also view the transaction log data outside of the app by using a public block explorer. Clicking on the
Transaction Hashlink will open up your browser so you can view the same data from a public perspective. Masked data on a public block explorer (which is accessible by the general public) will stay masked.
Manage Assets
Define New Asset
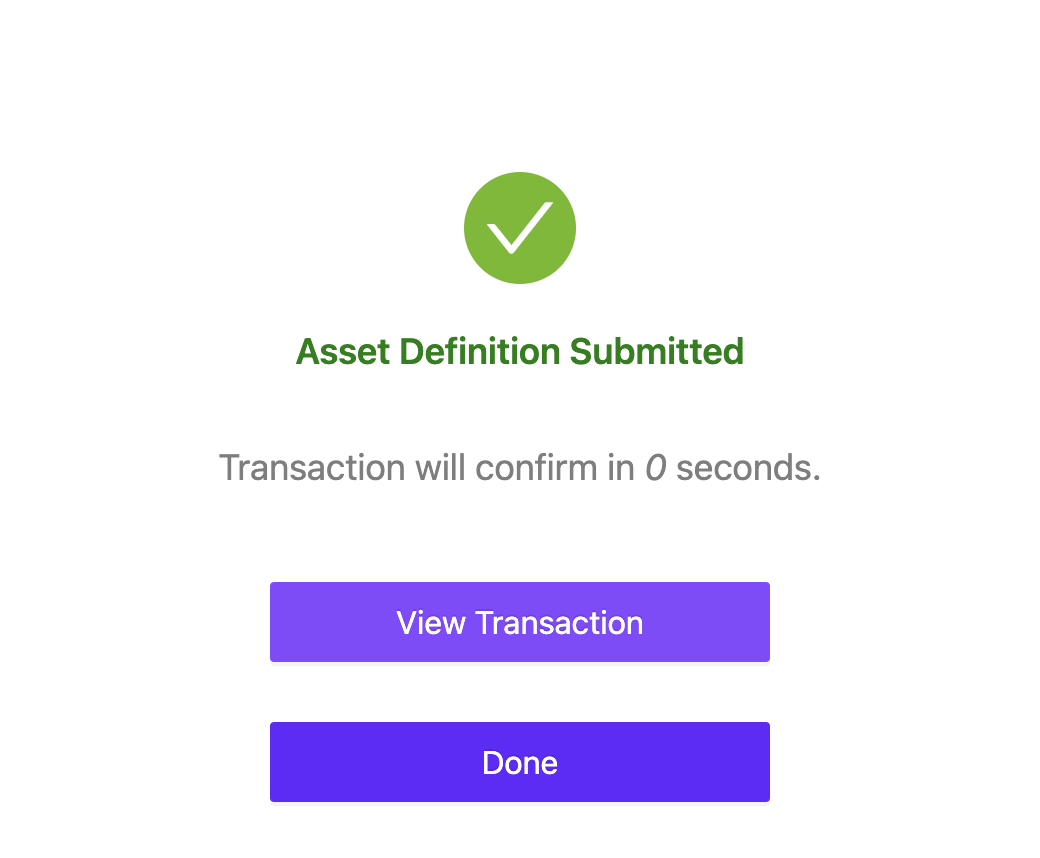
- Creating a new asset requires you to first define the asset. Then, to complete the process of creating a new asset you must issue the asset (by specifying the number of units of that asset to issue). Please note, after you define the asset the number of units for that asset remains 0 and will remain 0 until you issue the asset.

Below are the two steps needed to create a new asset:
- Goto
Manage Assets⇒Define New Asset- Fill out the input fields on the
Define New Assetpage
- Fill out the input fields on the
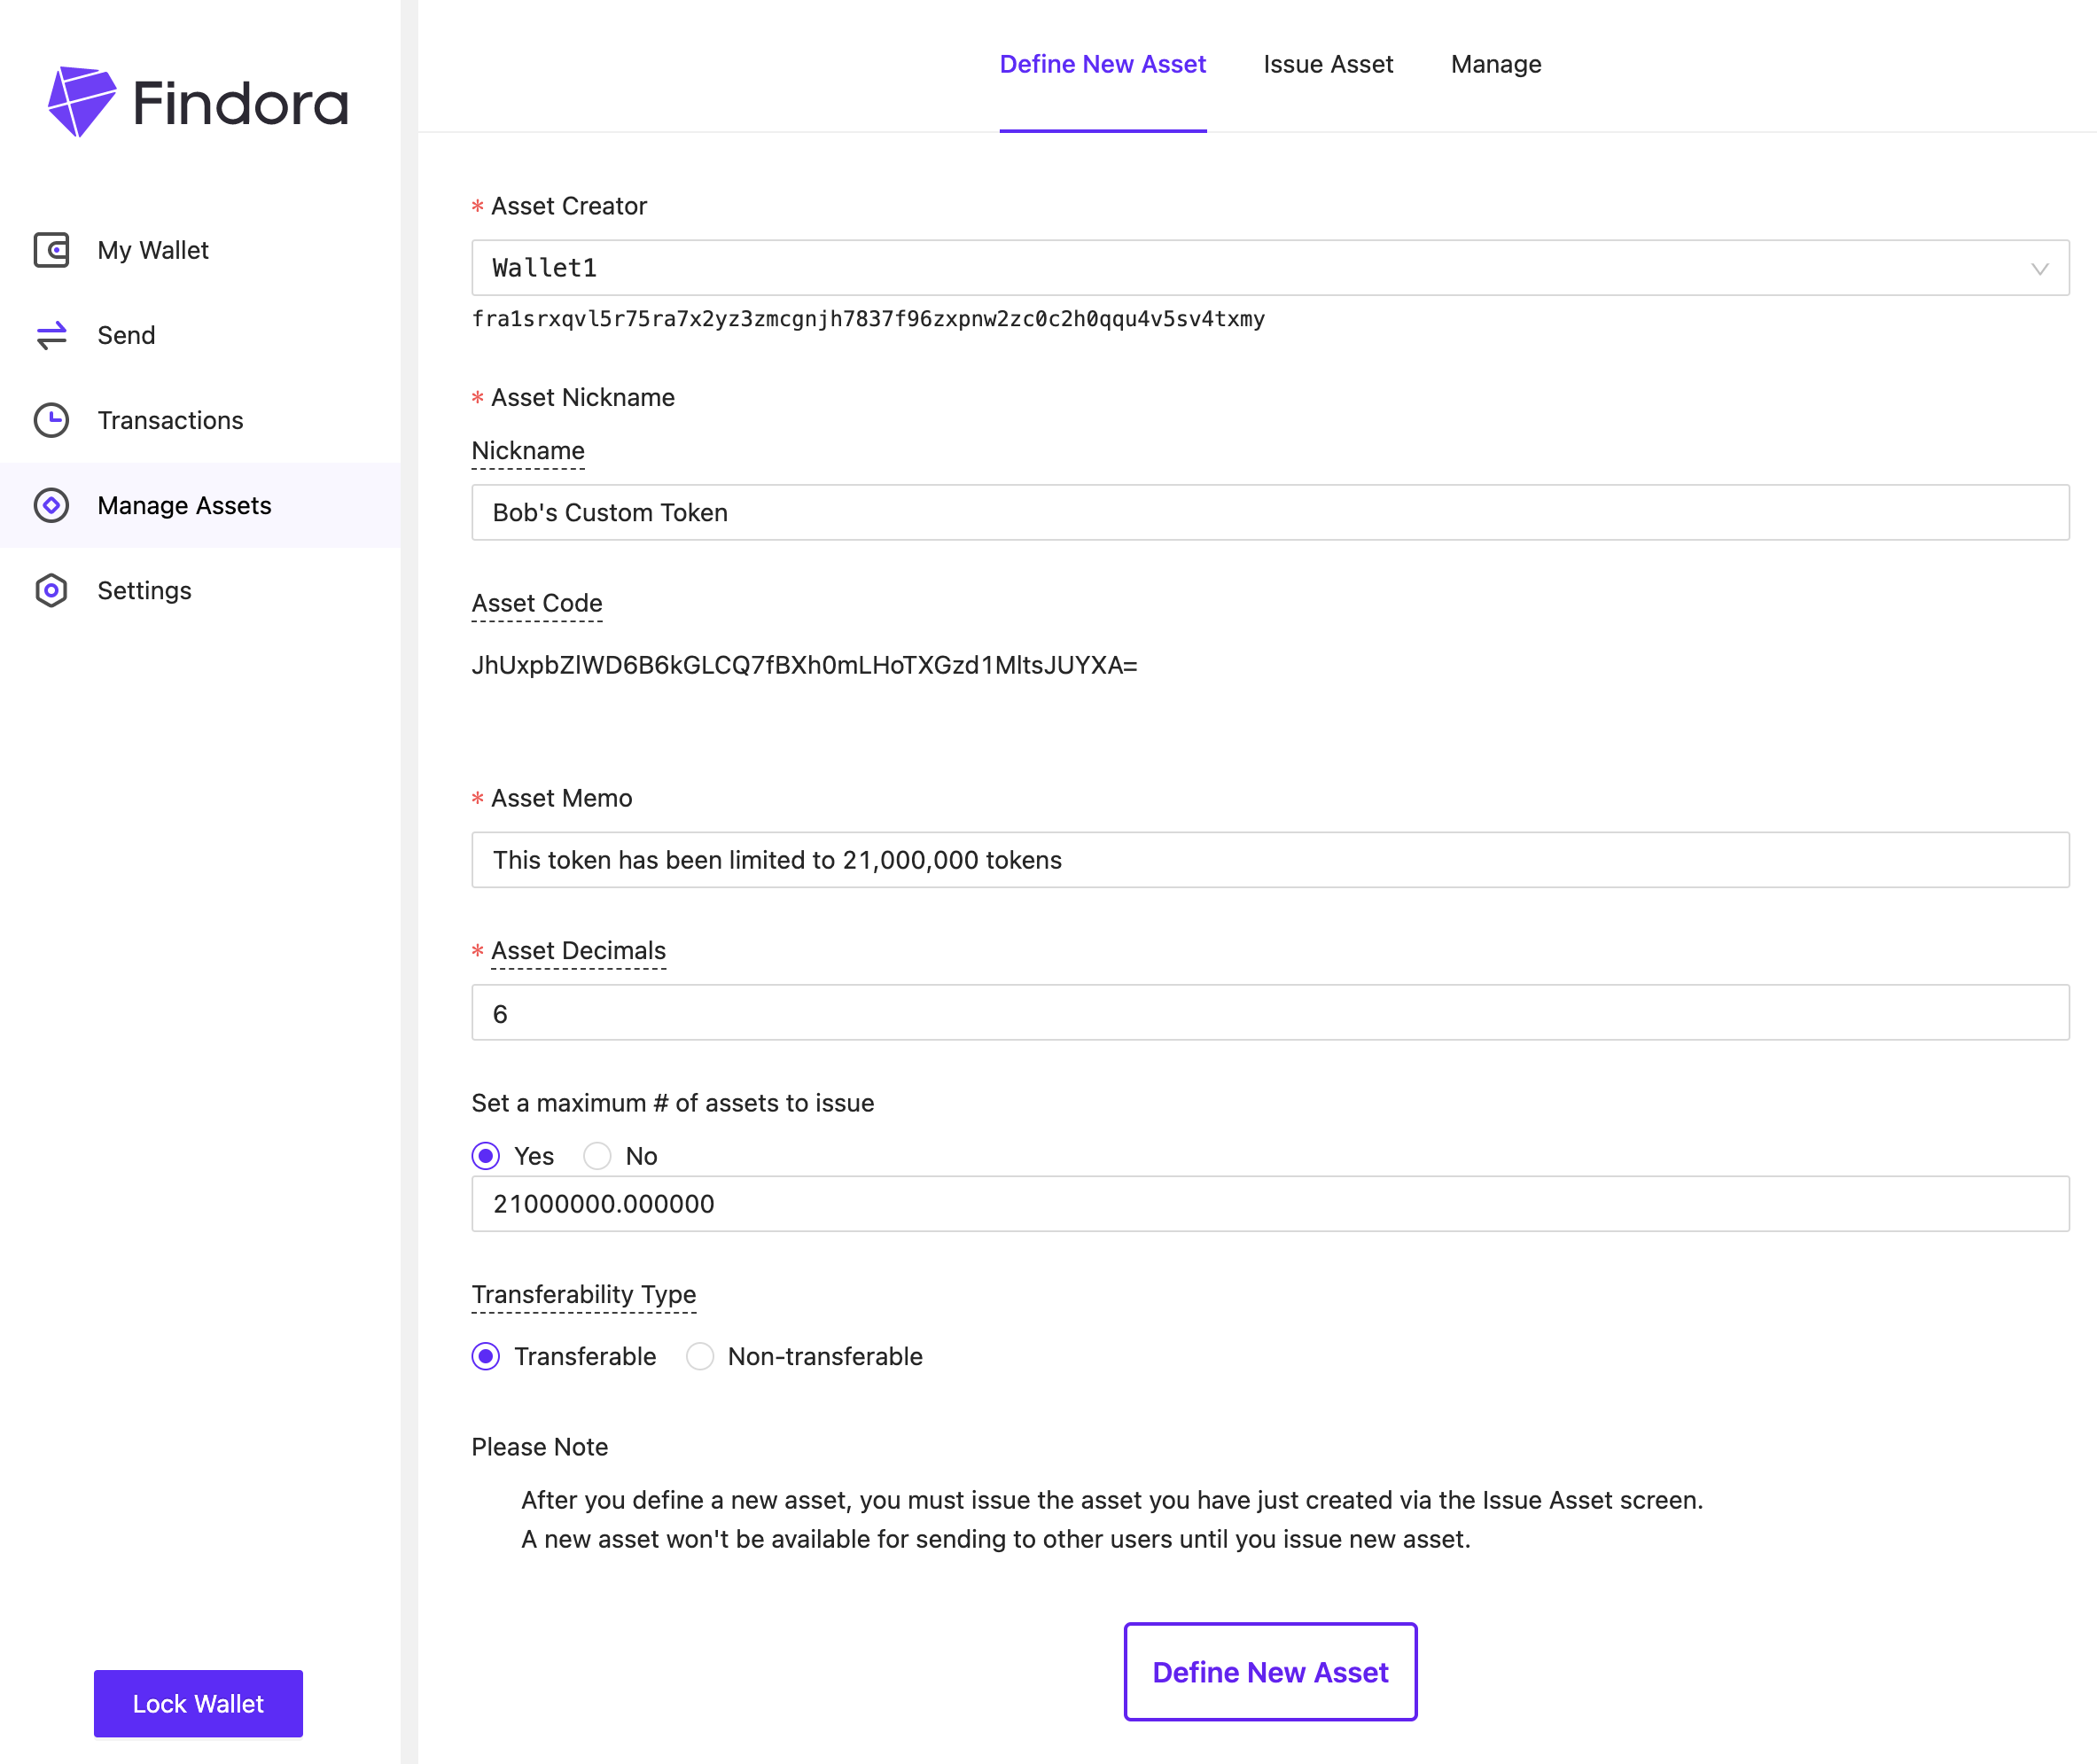
Asset Creator- select the wallet address which will create the new assetAsset Nickname- enter a nickname for the asset (it can be edited later)Asset Code- this value is generated automatically by the system. You can consider this as your custom asset's unique token "ticker".Asset Memo- enter a description for your custom assetAsset Decimals- set the number of decimal places for your custom asset (up to 16 places)Set a maximum # of assets to issue- you can cap the number of units of the custom asset to a maximum value. For example, Bitcoin is capped at 21 million units by design.Please note, if you specify a maximum number of assets to issue, the number of tokens you issue during the issuance phase will be shown on the public block explorer.
If you do not place a cap on the maximum number of assets to issue (i.e. an unlimited number of tokens can be issued for the custom asset), then you have the option of showing or hiding the tokens you issue during the issuance phase on the public block explorer.
Transferability Type- You can prevent your custom asset from being transferred to another user. This is an early feature that is designed to work with our upcoming timed lockup features.For example, in the future you will be able to set a custom asset as "non-transferrable" and specify a non-transferrable time period of 90 days — essentially creating a 90 day lockup to support a vesting schedule for the asset.
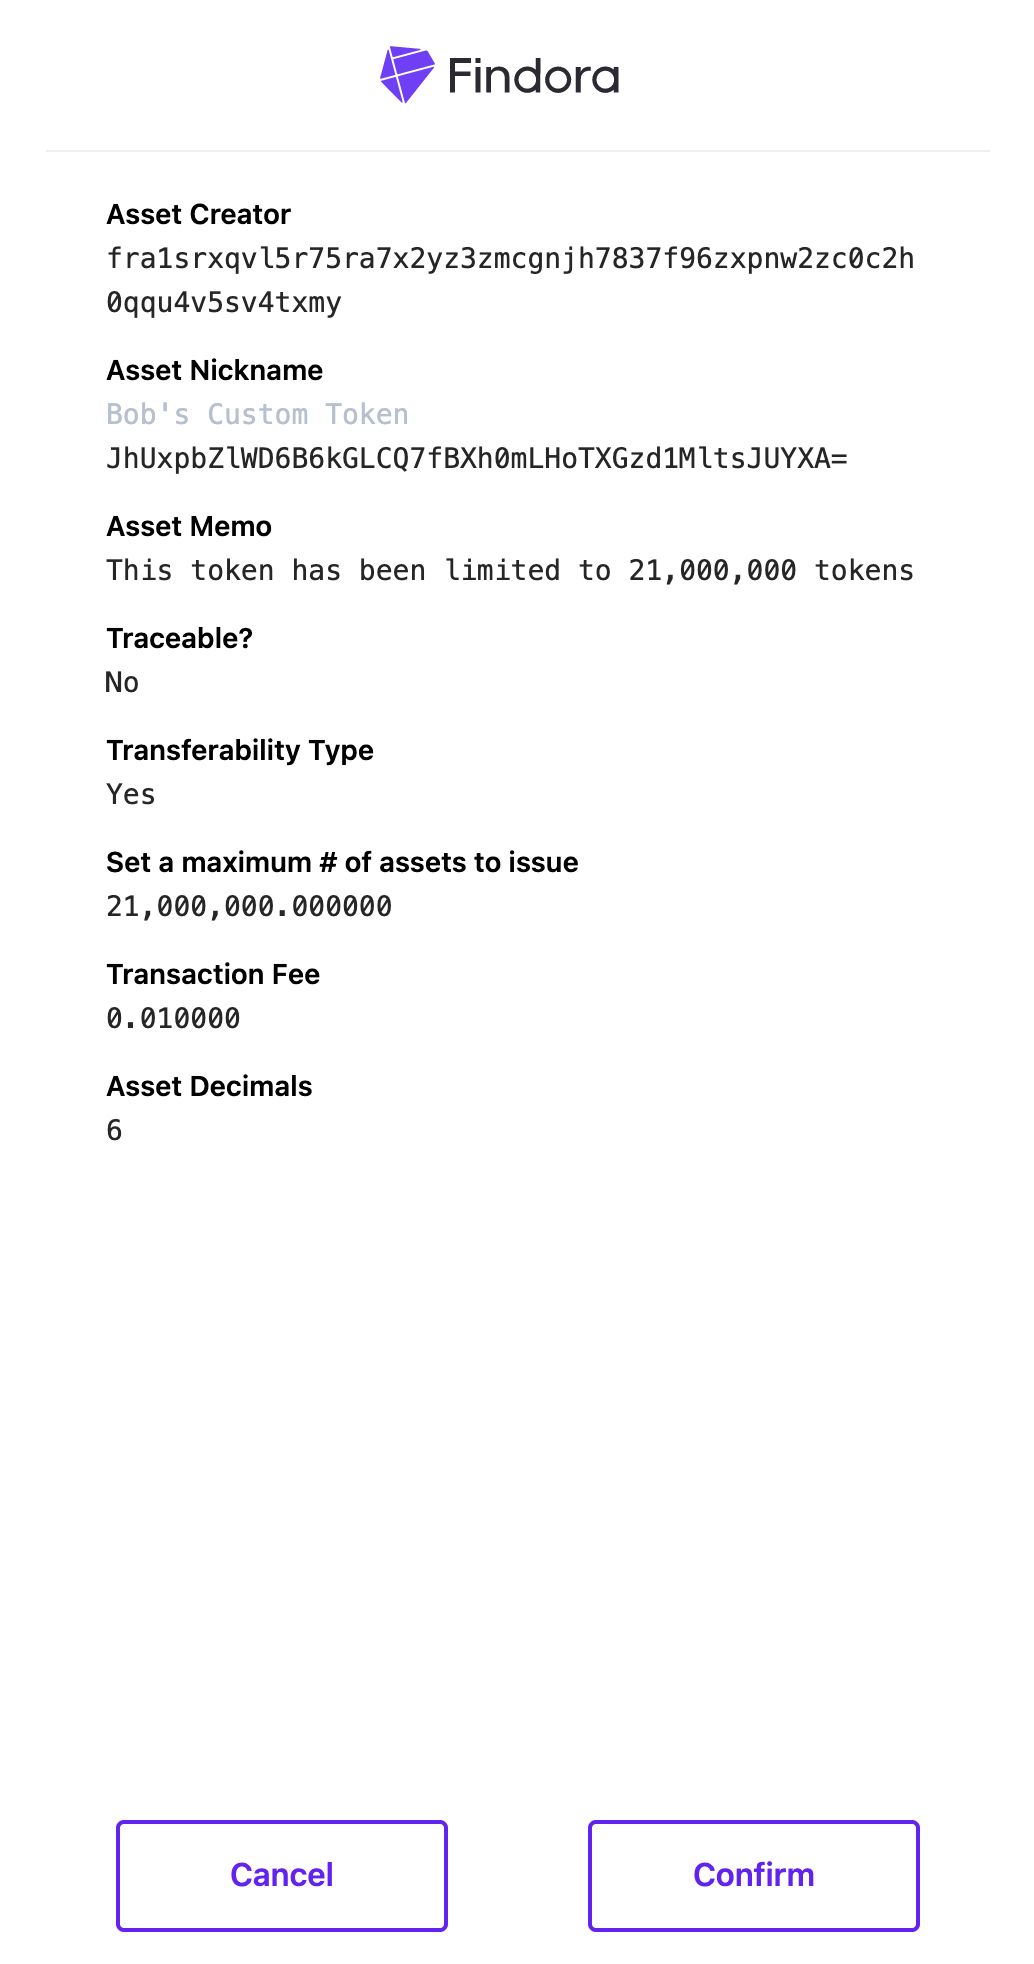
- Click
Define New Assetand thenConfirmto complete this part of the process
- Click
- Goto
Manage Assets⇒Issue Asset- Fill out the input fields on the
Issue Assetpage
- Fill out the input fields on the
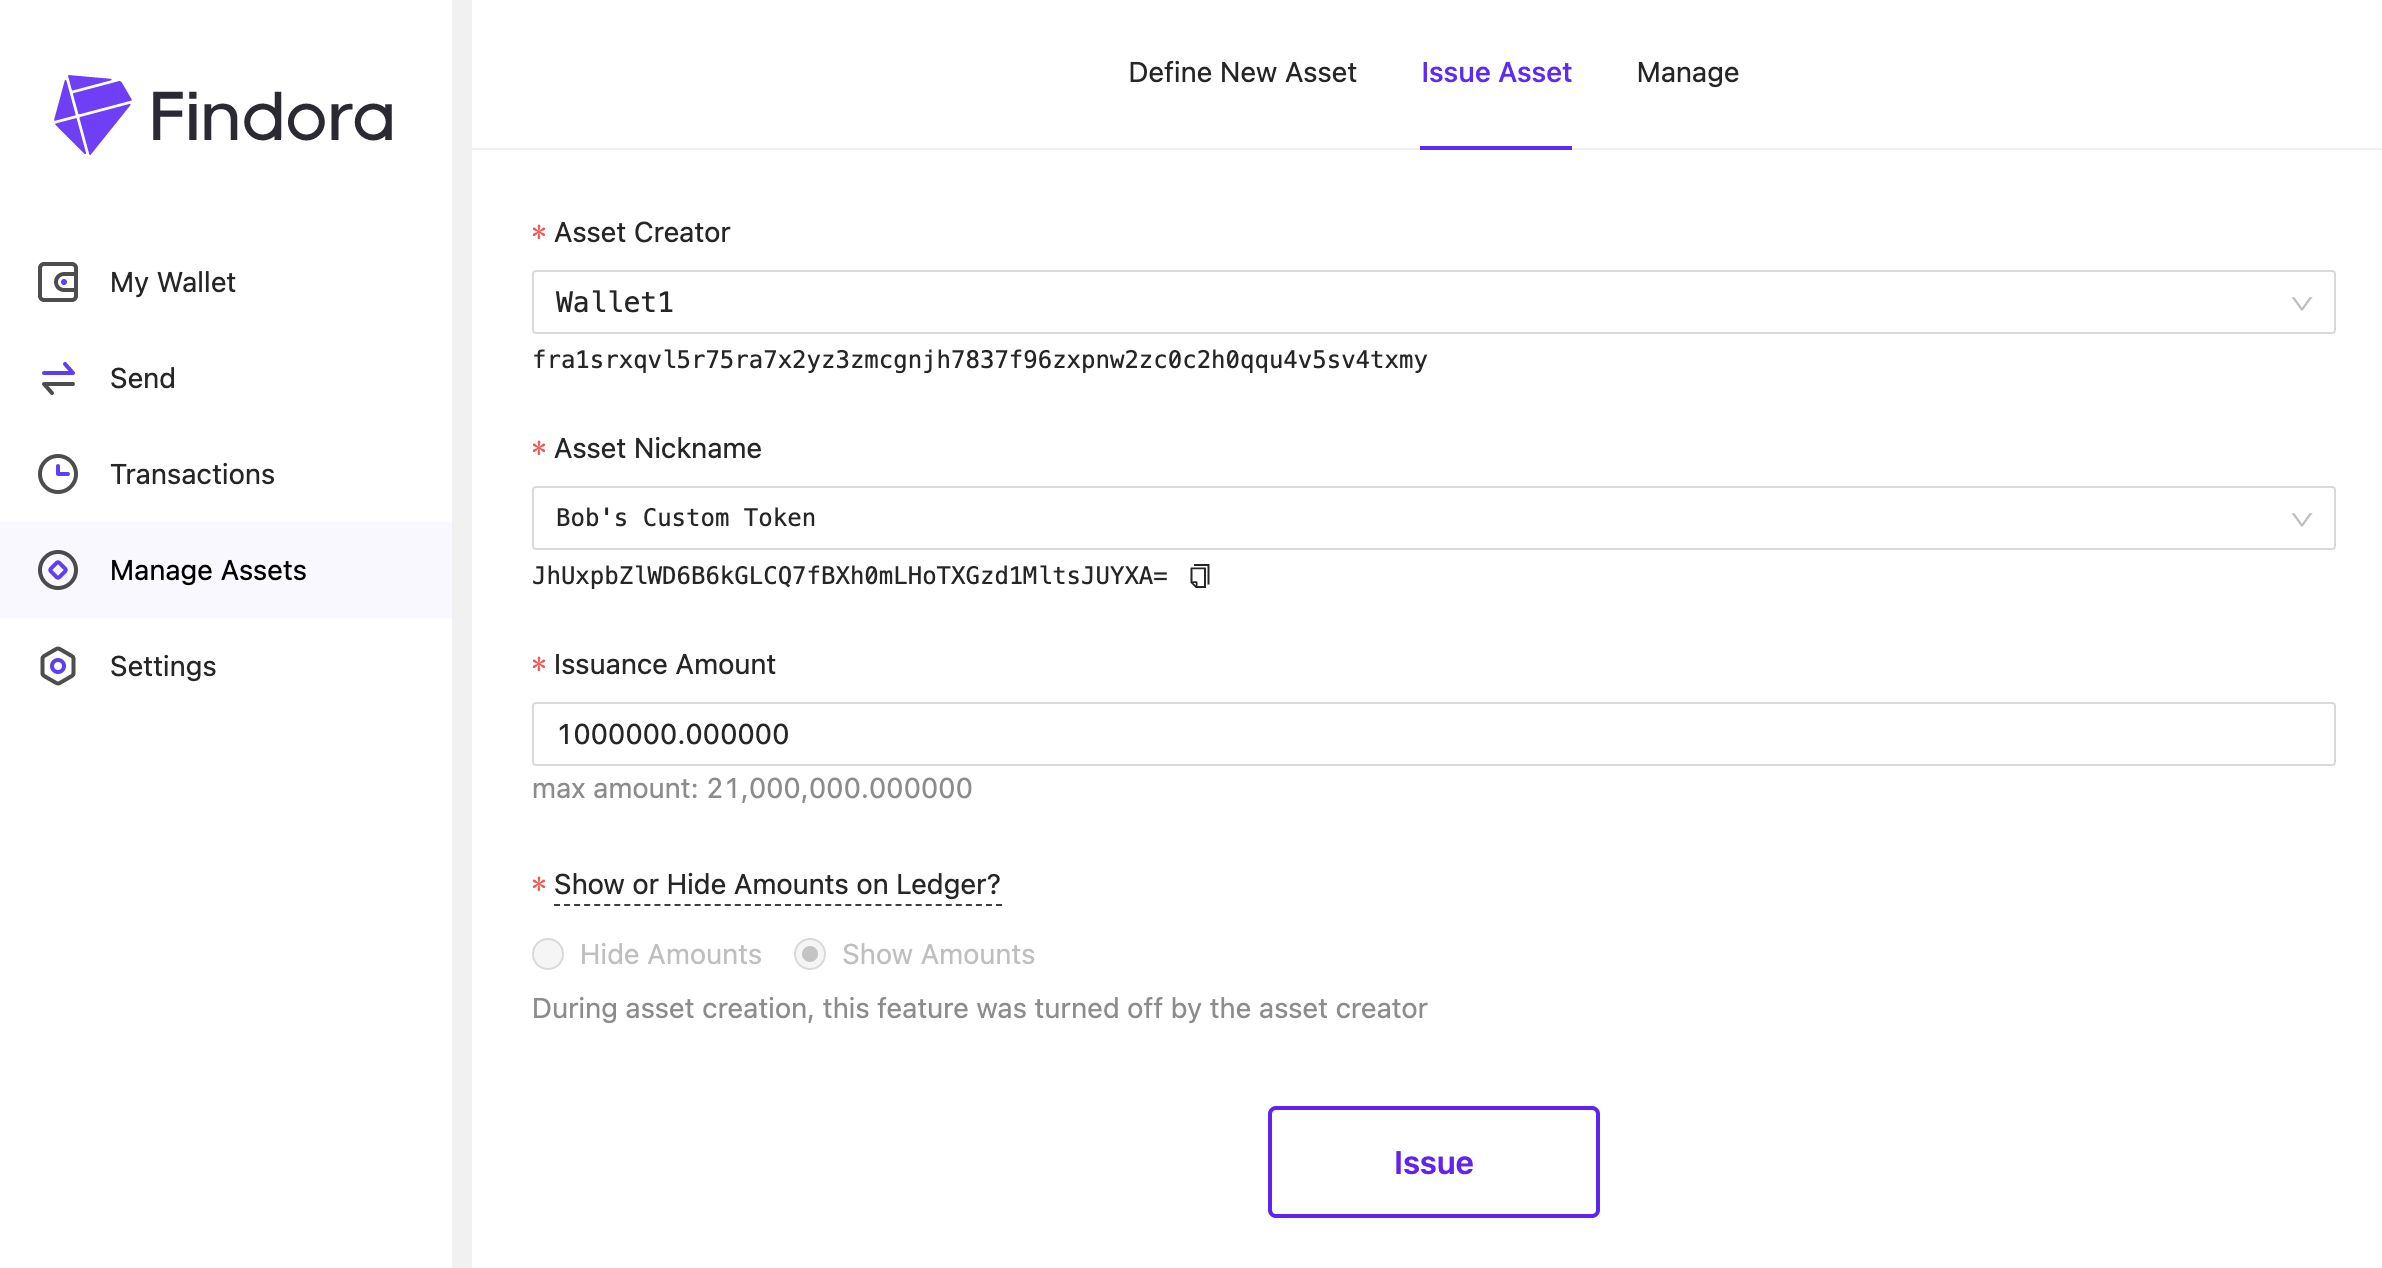
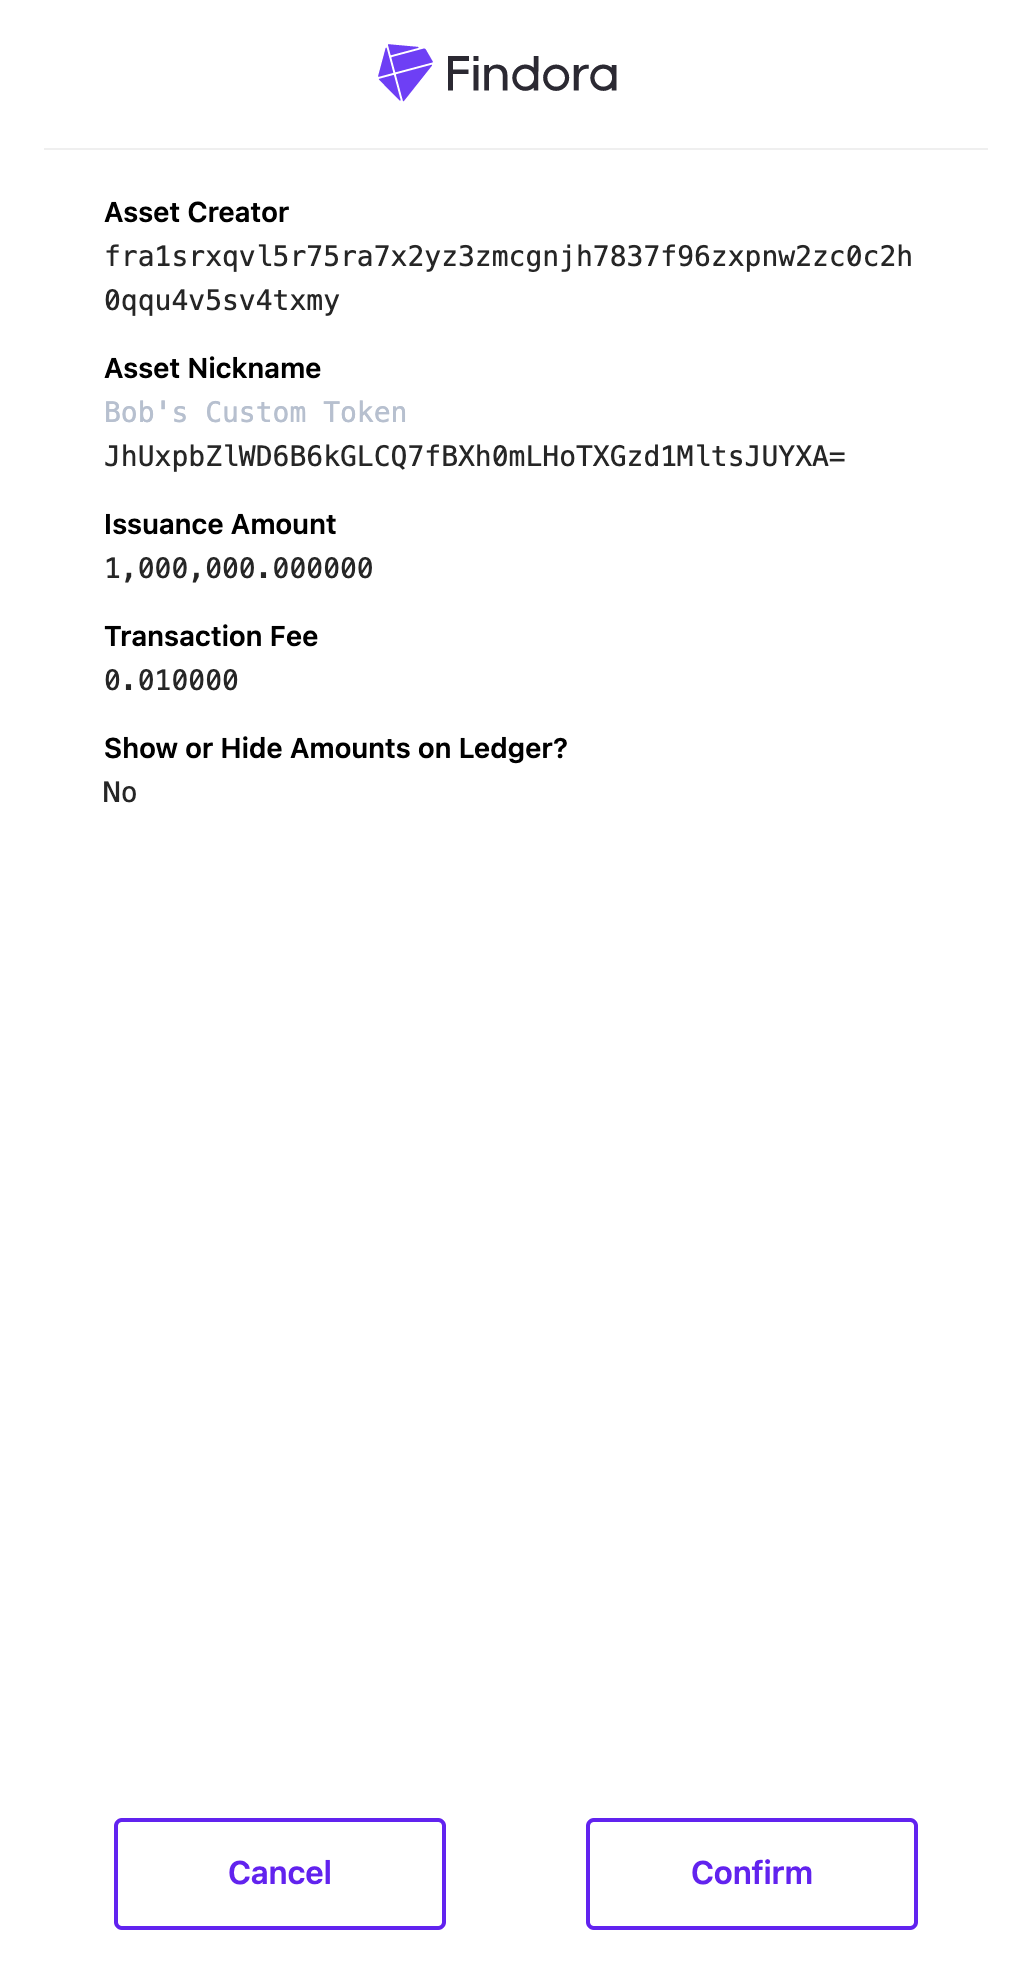
Asset Creator- select the wallet which created the custom assetAsset Nickname- select from the list of custom assets that have been previously definedIssuance Amount- enter the number of tokens to create. If the token was defined with a maximum units restriction, you will not be able to create tokens beyond the maximum limit.Show or Hide Amounts on Ledger?- choose whether the amounts will be shown or hidden for the assets to be issued- Click
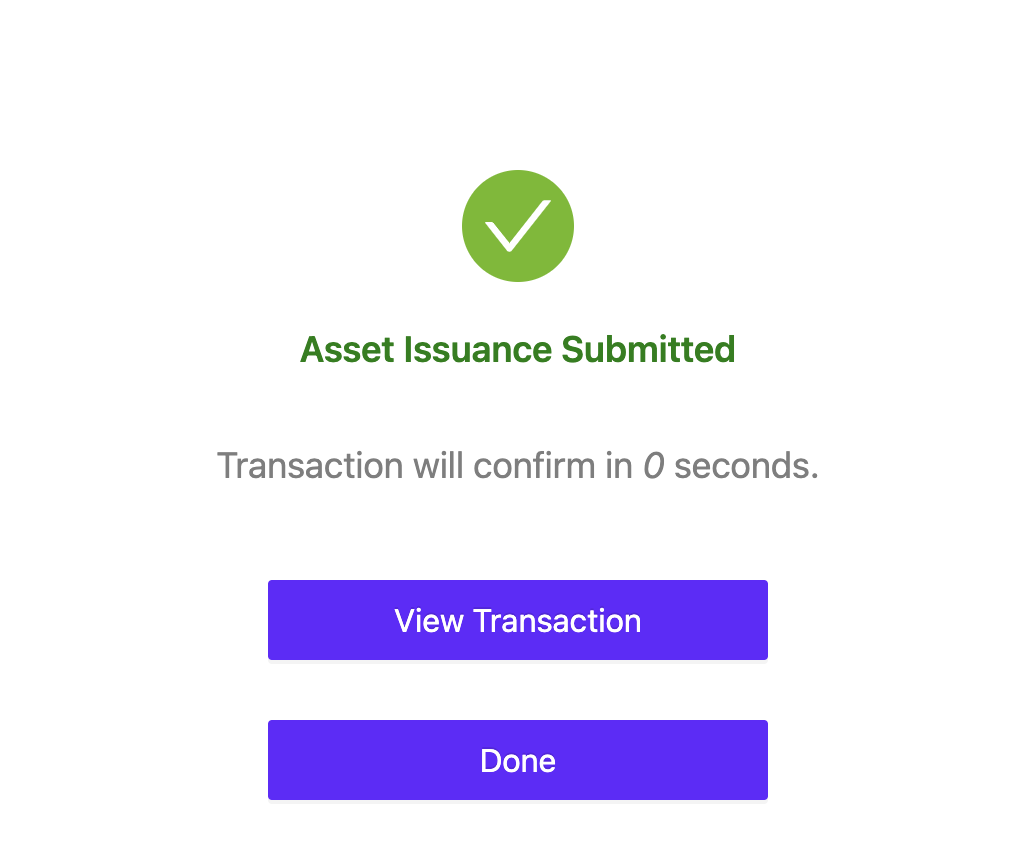
Confirmto complete the process
Manage Custom Assets
- If you created your own custom assets earlier, you can manage these custom assets via the
Manage Assets⇒Managepage
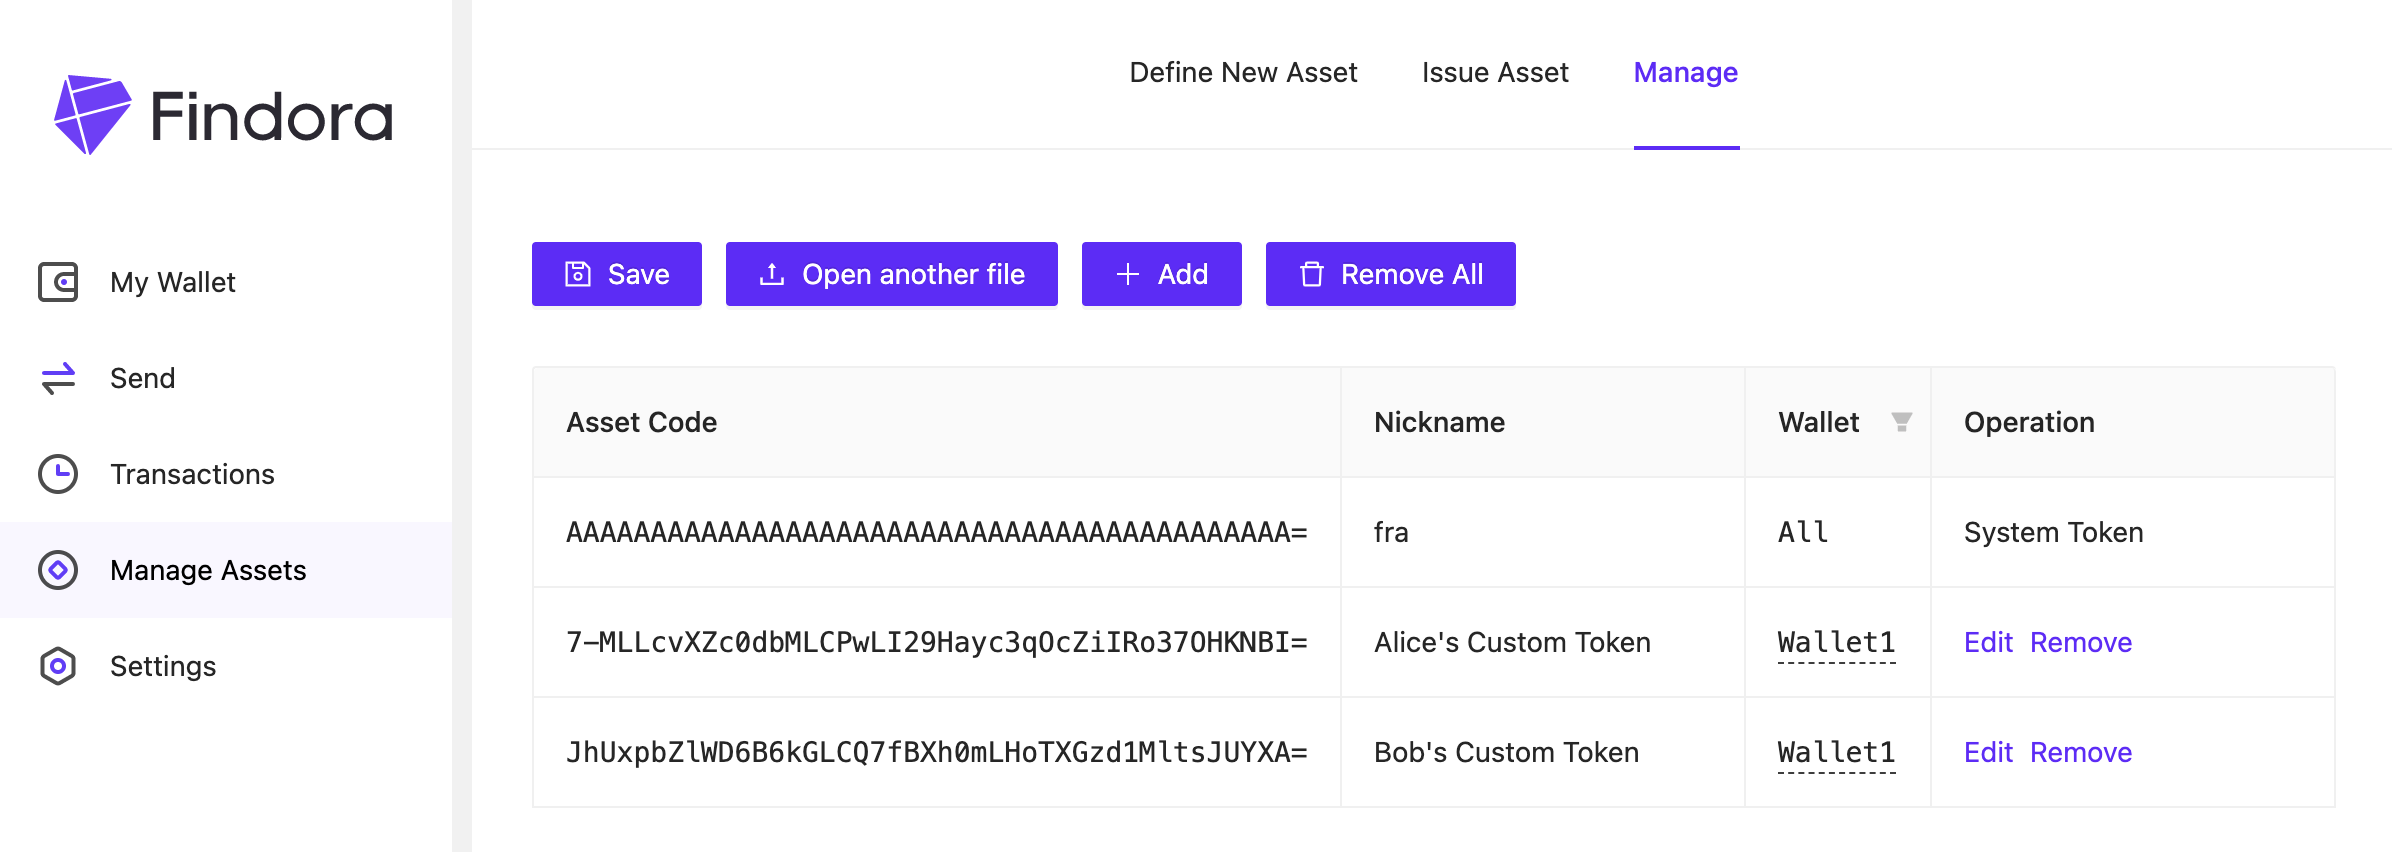
- Manage your custom assets via the following commands:
Save- saves all custom asset data in the app to a text file on your computer. This data includes the asset code, nickname, wallet address that created asset, etc.)Open another file- imports all custom asset data saved in a text file on your computer+ Add- imports a single custom asset by manually inputting the relevant custom asset dataRemove All- removes all custom asset data from the app
Settings
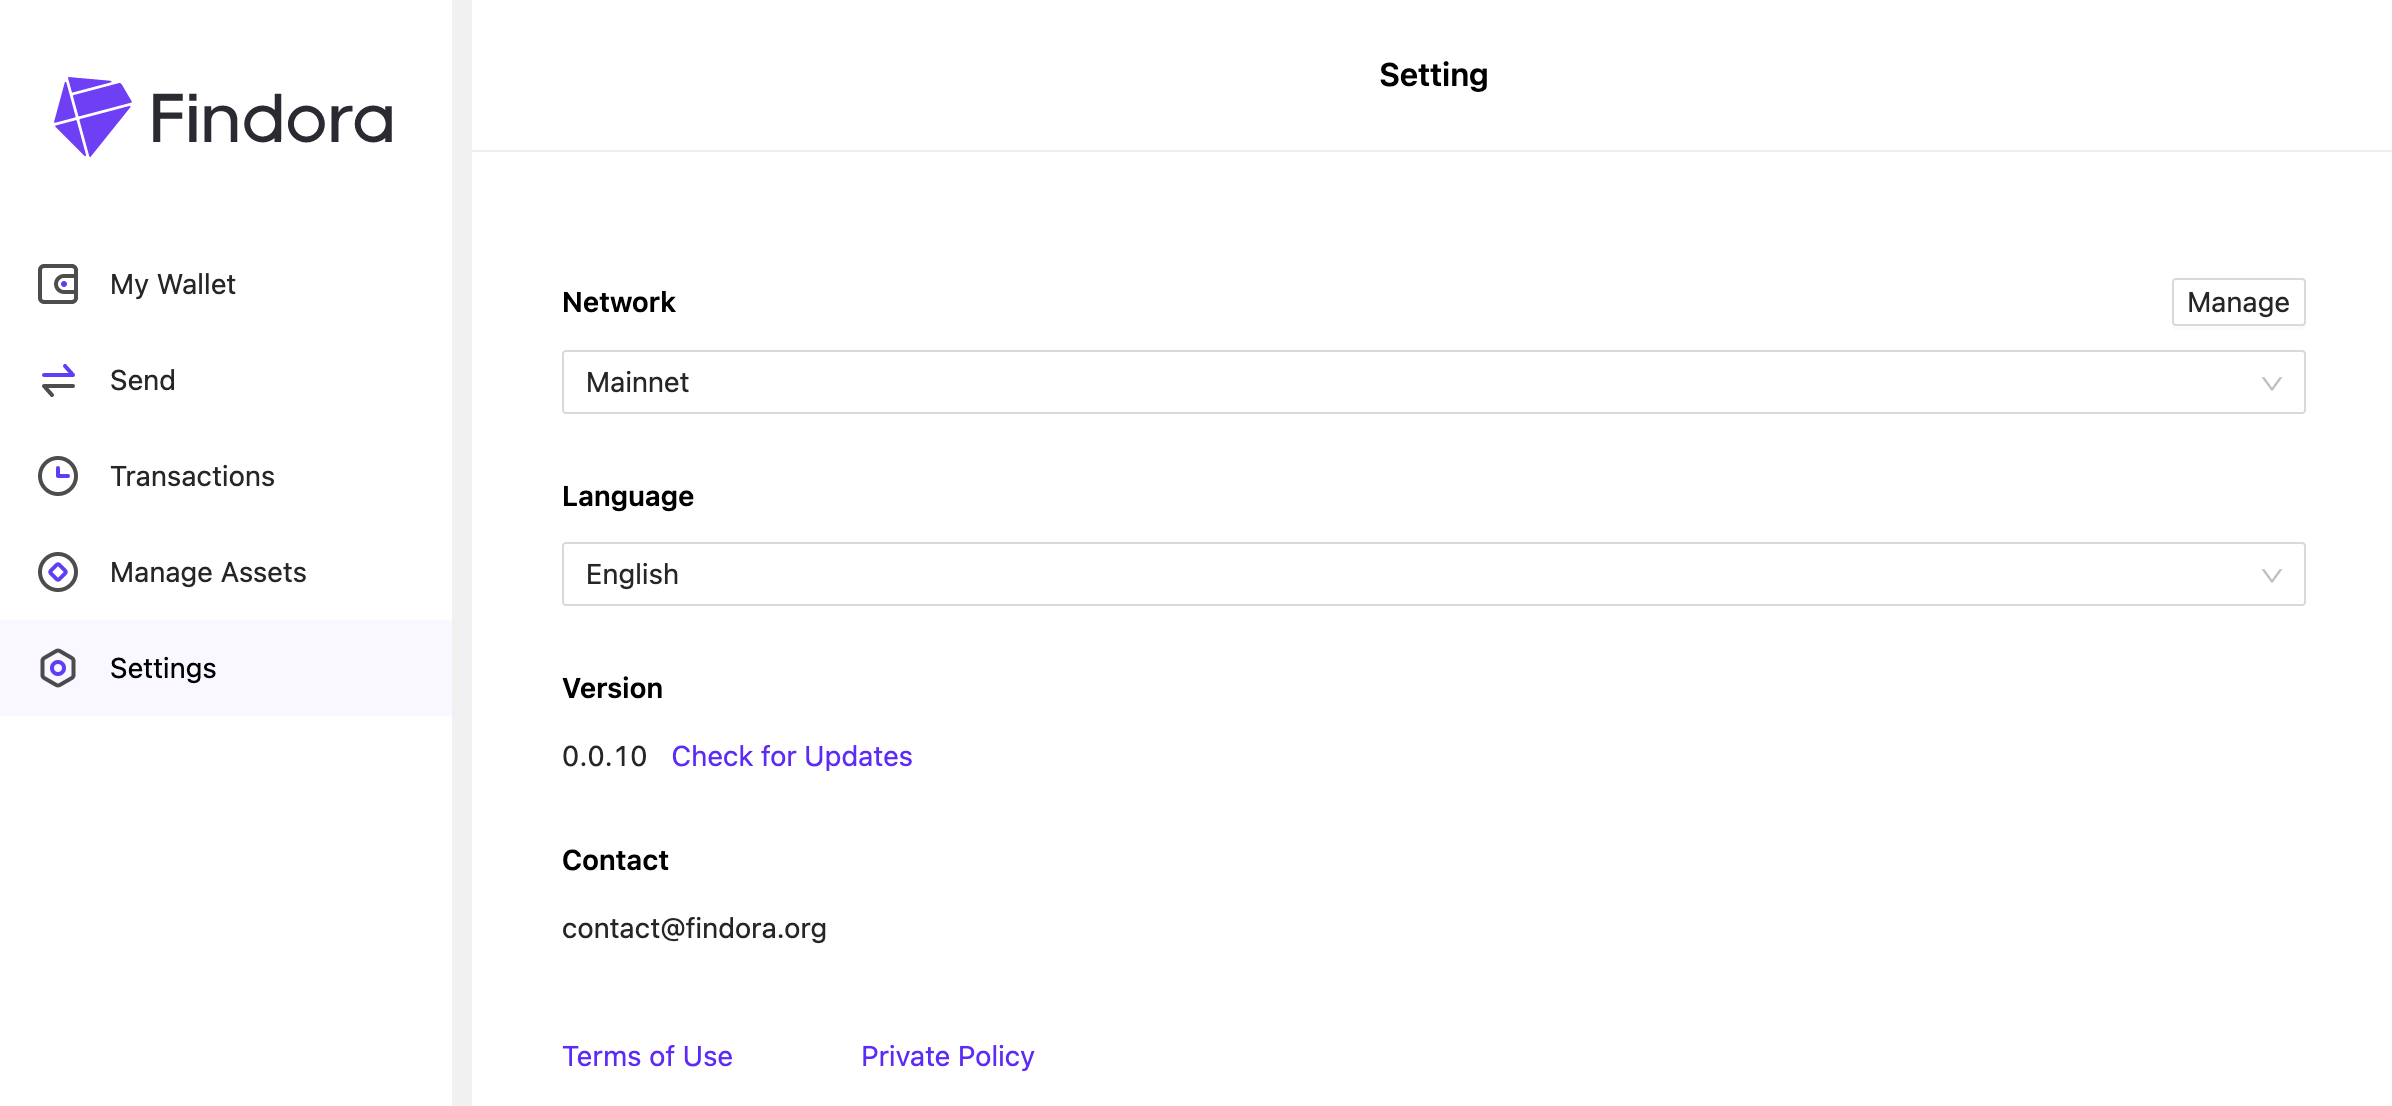
Network- select the network the app will interact with. Select theMainnetnetwork for normal use. Alternatively, you can choose one of the other network options for developer testing purposes.Language- select the display language for the entire app