Using Hardhat
Overview
Hardhat is an Ethereum development environment that helps developers manage and automate repetitive tasks for smart contract and DApp development, and can be used in the truffle project.
Prerequisites
This tutorial requires Node.js to be installed. You can download it through Node.js or run the following code to complete the installation. You can verify the correct installation by requesting the version of each installation package:
node -v
npm -v
Create Hardhat project
Here we use the truffle project (please refer to the truffle document to create a project module using Truffle to complete the 1, 2, and 3 steps), then configure the package.json file, and add dependencies in devDependencies:
"devDependencies": {
   "@nomiclabs/hardhat-ethers": "^2.0.2",
   "@nomiclabs/hardhat-etherscan": "^2.1.0",
   "hardhat": "^2.0.3",
   "hardhat-gas-reporter": "^1.0.1",
   "ts-node": "^9.0.0",
   "typescript": "^4.0.5"
}
Need to reinstall dependencies
npm install
This will create a Hardhat config file (hardhat.config.js) in our project directory, and create a .secret in the project root directory to store the wallet address private key we need to use when operating the contract.
import '@nomiclabs/hardhat-ethers';
import '@nomiclabs/hardhat-etherscan';
import 'hardhat-gas-reporter';
import * as fs from 'fs';

const mnemonic = fs.readFileSync('.secret').toString().trim();

module.exports = {
  defaultNetwork: "hardhat",
  networks: {
    hardhat: {
    },
    findora: {
      url: "https://prod-testnet.prod.findora.org:8545",
      chainId: 2153,
      accounts: [mnemonic]
    }
  },
  solidity: {
    version: "0.6.12",
    settings: {
      optimizer: {
        enabled: true,
        runs: 200
      }
    }
  },
  paths: {
    sources: "./contracts",
    tests: "./test",
    cache: './build/cache',
    artifacts: './build/artifacts',
  },
  mocha: {
    timeout: 20000
  },
  gasReporter: {
    currency: 'USD',
    enabled: true,
  },
  etherscan: {
    // Your API key for Etherscan
    // Obtain one at https://etherscan.io/
    apiKey: '**',
  }
}
Create Hardhat script file
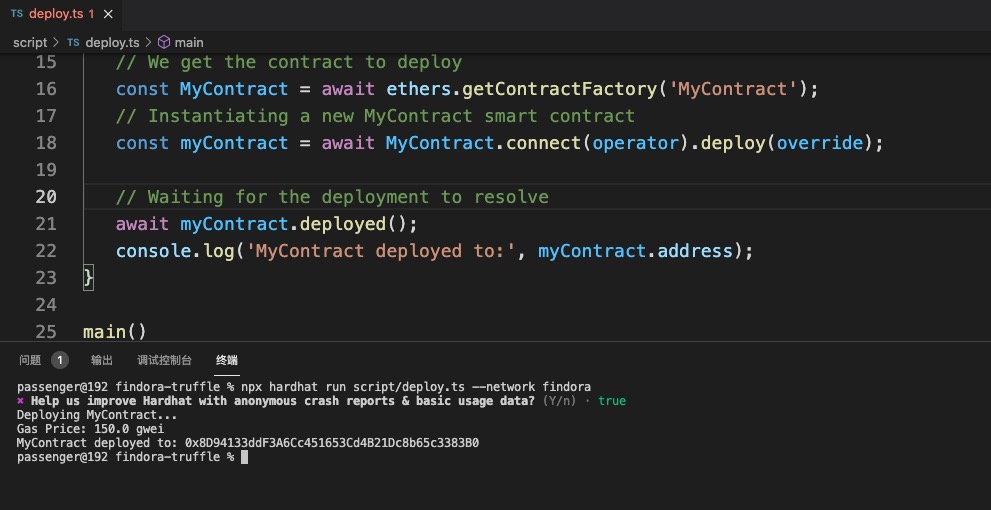
Create a script directory at the same level as contract to store Hardhat script files (example: deploy.ts), and then use ethers to write deployment scripts. First, create a local instance of the contract through the getContractFactory() method. Next, use the deploy() method included in the instance to initiate a smart contract. Finally, use deployed() to wait for the deployment to complete. After the contract is deployed, the contract address can be obtained in the MyContract instance. The script is a simplified version used in this tutorial.
import { network, ethers} from 'hardhat';

// scripts/deploy.ts
async function main() {
   // We get the contract to deploy
   const MyContract = await ethers.getContractFactory('MyContract');
   console.log('Deploying MyContract...');

   // Instantiating a new MyContract smart contract
   const myContract = await MyContract.deploy();

   // Waiting for the deployment to resolve
   await myContract.deployed();
   console.log('MyContract deployed to:', myContract.address);
}

main()
   .then(() => process.exit(0))
   .catch((error) => {
      console.error(error);
      process.exit(1);
   });
Deploy contract
Use the run command to deploy the MyContract contract to Findora devnet
npx hardhat run scripts/deploy.js --network findora
The contract can be deployed in a few seconds, and then you can see the contract address printed out on the terminal:

Interact with the contract
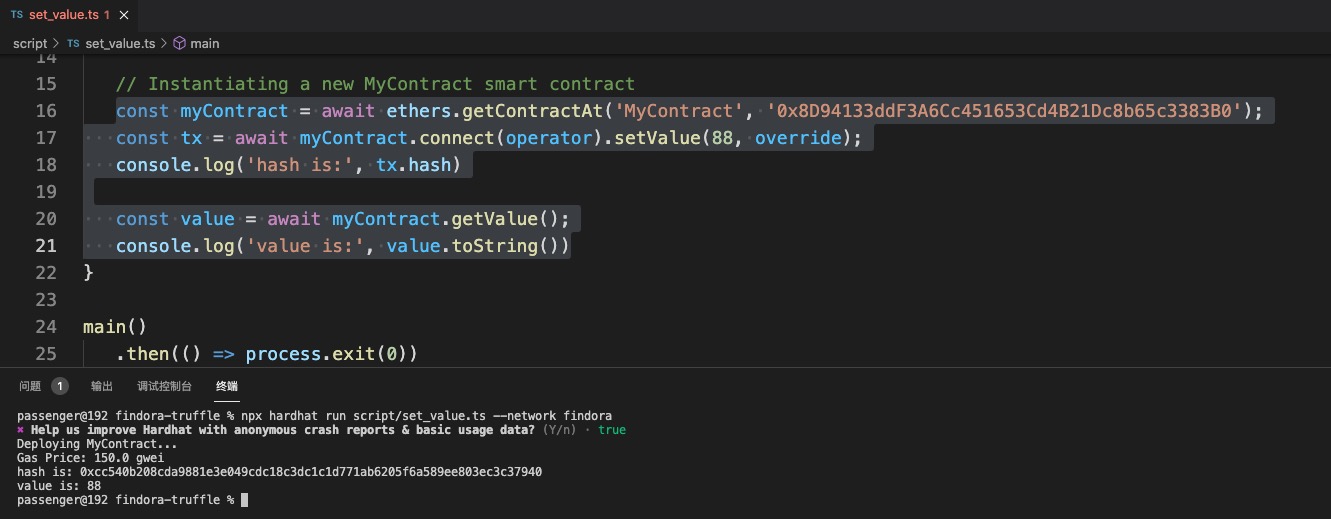
Create a local instance of the MyContract.sol contract, and then enter the address obtained when deploying the contract, connect this instance to an existing instance, and interact with it after connecting to the contract. When the console command is still running, call the method in the contract and pass in the correct parameters (If the method involves ERC20 type transfer, please authorize first).
const myContract = await ethers.getContractAt('MyContract', '0x8D94133ddF3A6Cc451653Cd4B21Dc8b65c3383B0');
   const tx = await myContract.connect(operator).setValue(88, override);
   console.log('hash is:', tx.hash)

   const value = await myContract.getValue();
   console.log('value is:', value.toString())

Congratulations, you have completed the Hardhat basic operation guide!